Fresh off the sewing machine…

After blocking and squashing
It is with great relief that I can at last say this quilt, due to be entered into the UK Festival of Quilts, is finished. It’s the first time I’ve made a quilt that will be judged. For quilters for whom accuracy and precision are their normal way of working then I take my hat off to them, but for me quilting means less of an eye on perfection and more on the finished look. If a point has gone astray or those blocks less than perfectly aligned c’est la vie. So I really had to up my game and my seam ripper has never been so busy!

Many things made this more a slog than anticipated. Firstly I’m a selfish sewer, I sew what I fancy sewing so unless there is a deadline I sew what I want. So sewing stamina and focusing on one project went against the grain. And this is where the Duke of Edinburgh came in. He set up (or let’s be realistic his staff) an award scheme many, many years ago where young people work to get an award by doing voluntary work, a sport, learning a skill and carrying out an expedition. It’s an excellent scheme and no 2 son was away on his expedition weekend which gave me a long block of time to work on it pretty much uninterrupted. It always surprises how much more time I’ve got to spare when I’m one child down particularly if, it has to be said, this child…. This is for the nicest reasons as he gets bored more easily and is often in the kitchen experimenting with recipes, but he’s less keen on clearing up the mess though! So that gave me a huge spur to cracking on.
I completely underestimated the amount of time the whole process would take. Normally I’m a quick sewer and make design decisions pretty much on the fly but this time everything took soooo much longer. So much time checking and trimming blocks let alone making them. So much time agonising over colour choice and placement of blocks. I can’t tell you how much time I spent looking at my layout and being unhappy and then trying to think how to make it better. It’s an original improv design so despite a fairly restricted colour range the options are endless. And even at the final stages the quilting alone took the best part of two full days. And this was all against the context of leaving it too late. I have no excuse. The entry forms are issued early in the year but I wouldn’t commit. Then on the last day of submitting your entry form, indeed I think the last hour, an IG post by Abigail about there still being time got me entering online. So of course added to this was the march of time.
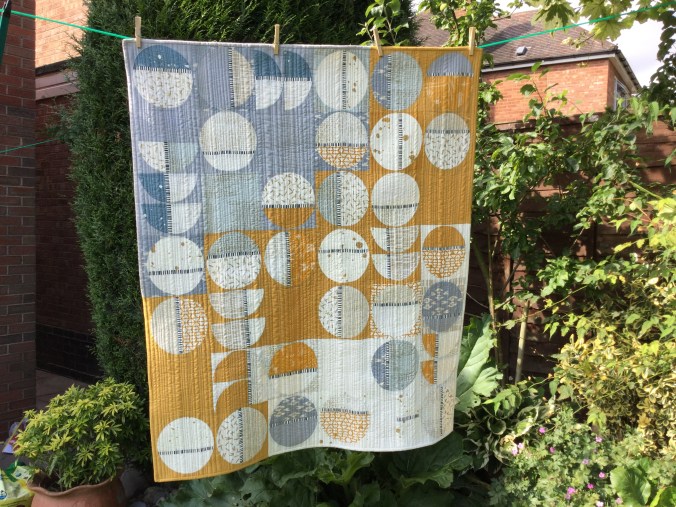
I had the idea and concept back in the Spring. As usual a whole bunch of ideas came together. I had a large empty space at the bottom of the second floor stairs to fill. I love the look of inset circles and had enjoyed making this quilt where the technique is explained in more detail in that post. This blue quilt proved a very quick make (and has the wobbly circles and misaligned edges and seams to prove it!)
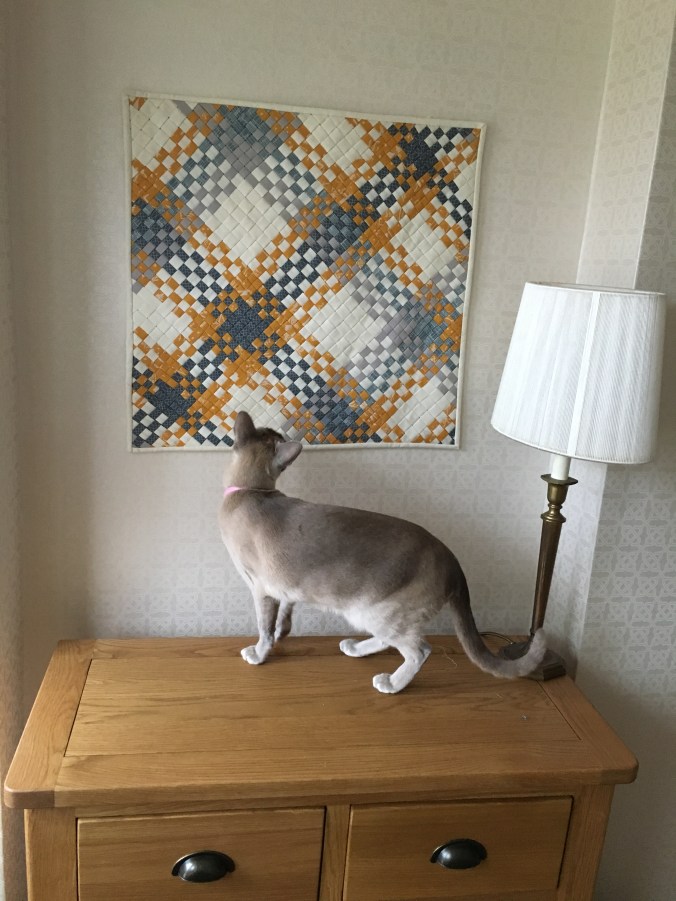
I’d made a woven quilt earlier this year and the colours worked really well in the space which is in our hall and the decor extends up to the top floor so that was quite a straight forward choice.
‘You know you’ve made a mistake here…..’
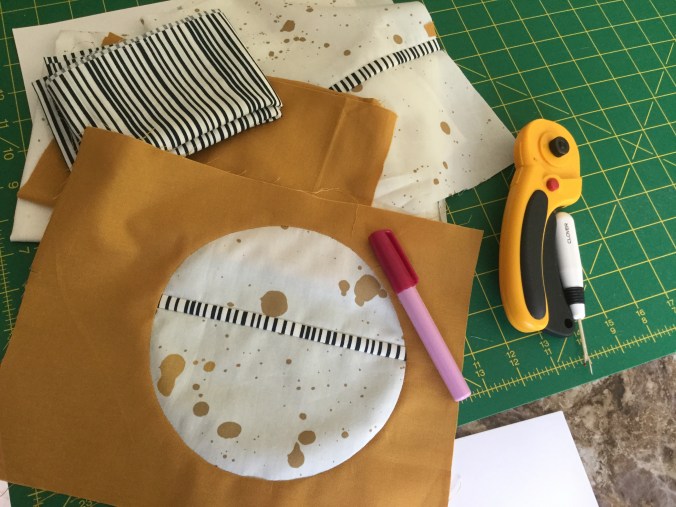
I’d wanted to explore a different layout, not just plain fabric in the circles and went for this as my trial block. I used Helen’s of Archie the Wonder Dog excellent tutorial to get the striped strip an even width.
The quilt is called Division as represented by the stripe and reflects how divisive and personal our politics has become. This is meant to be an uplifting blog so no more on that suffice to say harmony hasn’t been achieved either side of the Pond.
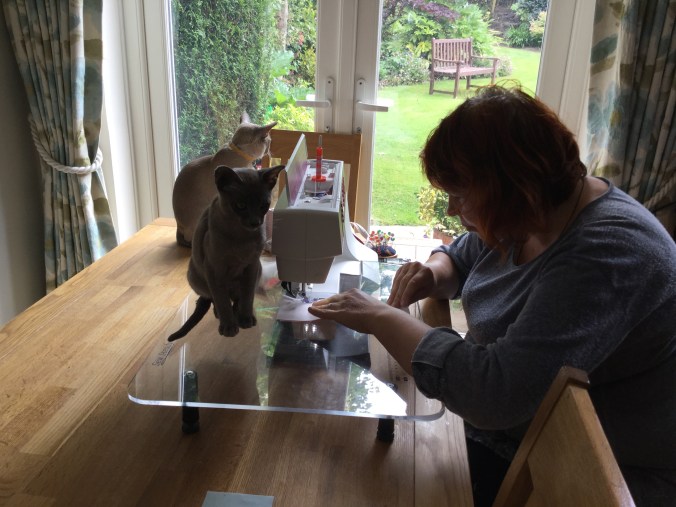
Well slog away I did. Laundry got forgotten, domestic chaos ensued, cats sadly ignored and put behind closed doors, our take out meal to home made ratio dramatically rose, my Fitbit steps plummeted, other projects put on hold…. but eventually it’s done and I think I’m really quite happy with it. Is it perfection? Of course not!! Will it stand up to its peers and not look an embarrassment, I hope so.
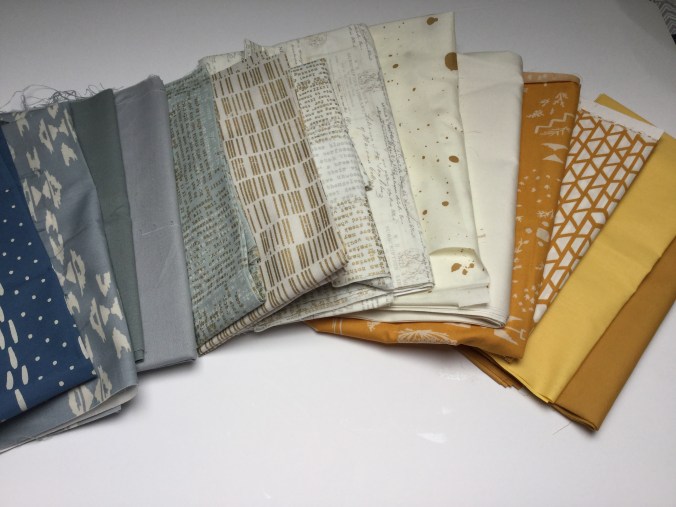
The fabrics used were Art Gallery’s (AGF) solids Linen White and Honey. These are silkier and finer than Kona or Bella Solids. The grey solid was Fog from the Cascade range of fabrics by Moda a long out of date print. But I liked the bluey grey. The accent circle inserts were from Moda Chic Zen Modern Background Luster Metallic range, some AGF fabrics from April Rhodes’ gorgeous Observer range and some earlier AGF prints. The stripe is another AGF fabric Streakly from Pat Bravo’s Essential range (not in this picture)
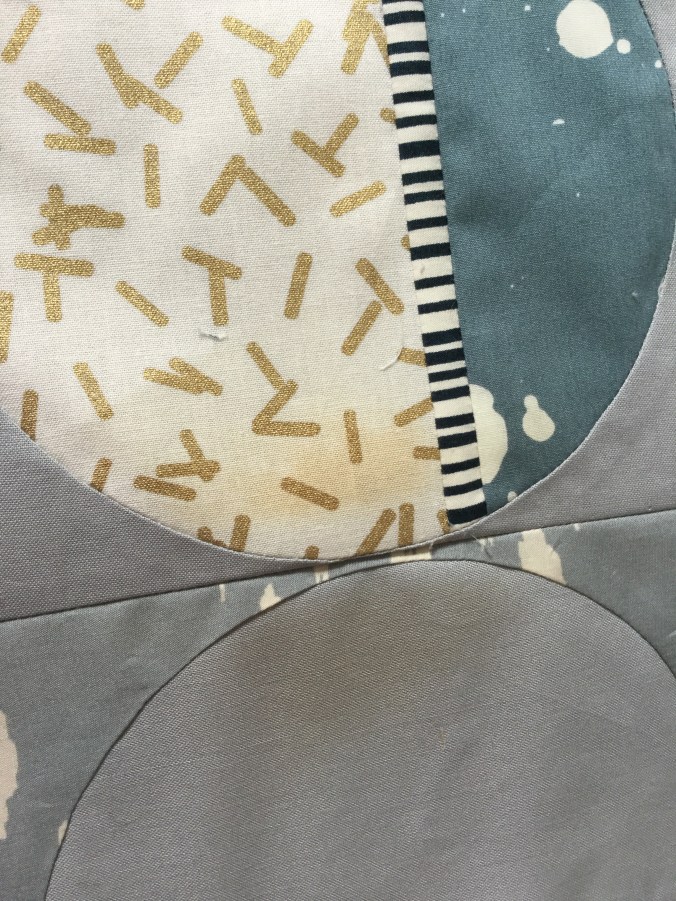
Well I won’t bore you with the tens of photos I took of various layouts but in the end I settled for the asymmetric gold splash of colour across the quilt. Also I won’t bore you with the tedium of trying to make every cut and seam perfect. I failed of course. I tried hard to reduce the shadowing effect and in so doing this mishap happened. Horror!! Of course it meant well over an hour’s work to make another block and unpiece and repiece the top. Sigh…. an hour of my life I won’t get back….

And then of course there was the scorched block….. more blocks to make to replace these.
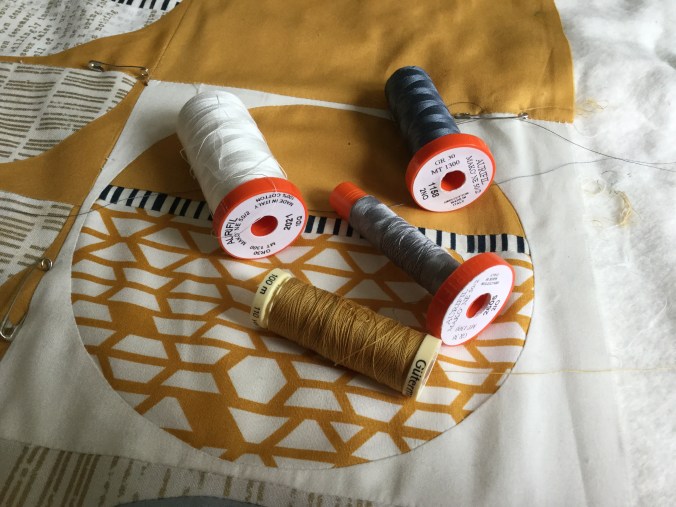
I agonised over the quilting. I can FMQ but my stitch length is variable and it’s certainly not a strength. The quilt is also quite busy and I wanted the quilting to complement the quilt not necessarily be a feature in itself. So eventually went with simple ‘random’ straight lines but used a variety of colours. And there are over 200 quilting lines. The double layer of batting does give it a wonderful texture even if stitch length is well variable!!
It is a bit wavy and before it’s labelled and packed off I may block it to see whether that helps. I’d like to get some of those horizontal striped lines a bit more horizontal where the dense quilting has taken its toll. (Update – I did block it by damping the quilt and doing as much tugging and pulling as I dared. I failed to stretch it using slim pins etc without damaging the fabric so decided to weight it under a load of heavy rugs. This worked like a dream.) There were a few yet more ends to hide I noticed when taking its photo. And at least one final brush may not go amiss.
As I use this blog as an aide memoir for me should I ever go down this path again these are some tips I must bear in mind
1. For heavens sake start early next time, if there’s a next time….
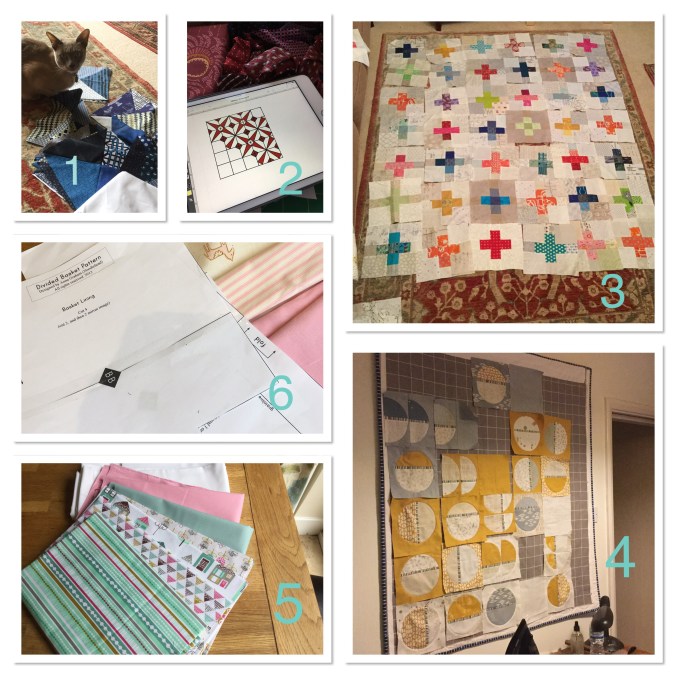
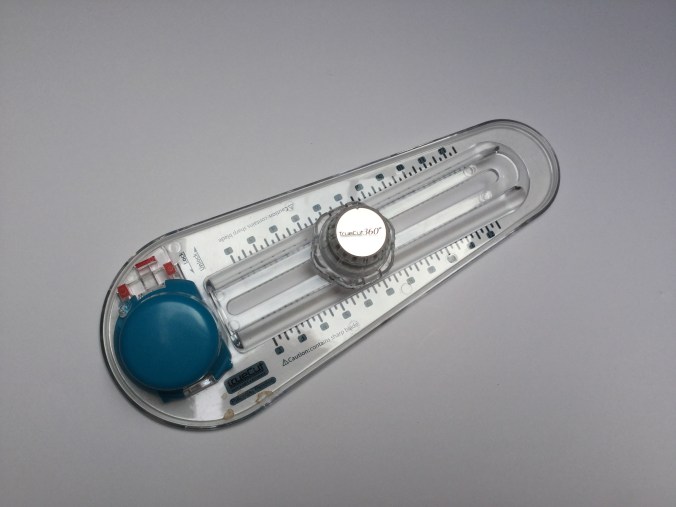
2. Get the right tools. Anything within reason to make the task easier. This circle True Cut tool was an absolute boon. Beats using a teaplate with jam on the rim to make it move less any day!
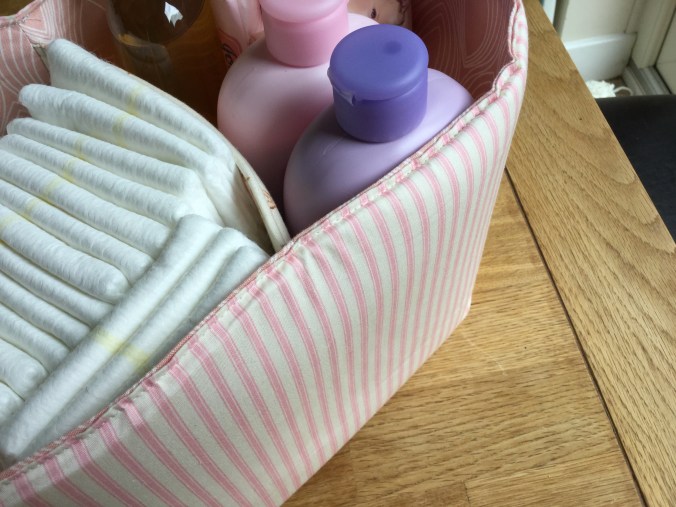
3. Get organised. So much time can be wasted just looking for things. I swear blind that seam rippers have invisibity cloaks at times! The plastic basket for fabrics and project specific items worked really well.
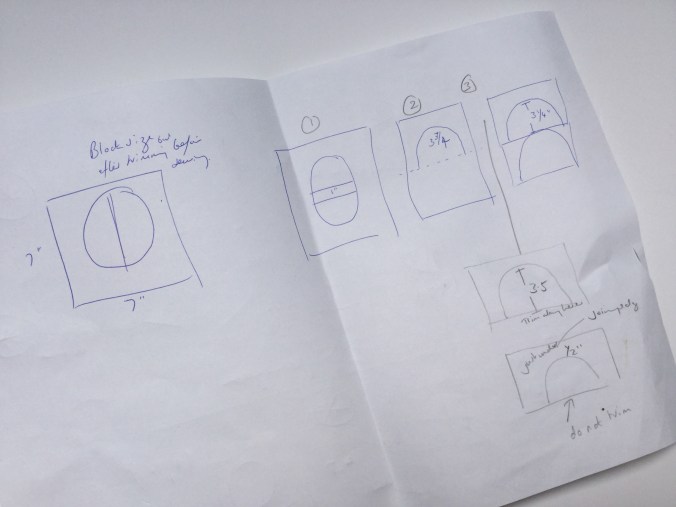
4. Write things down. I know you always think you will remember as it’s such an obvious number/process but time has repeatedly told me I for one don’t!! A sheet with measurements particularily for the tricky half circles was very helpful with my memory and where 1/4″ extra trimming is a disaster.
5. Check every block before assembling the top. Trim where you need to neaten the seam etc. Remembering to ensure shadowing is minimised.
6. Remember it will take forever. So follow the above to help you keep on track.
7. When choosing fabrics try not as you did this time chose a solid that is an out of print colour/fabric. What you should have done is find a current solid from Kona or wherever that gave you the blue grey you wanted and then ordered twice what you think you needed. Similarily with prints, avoid where possible old prints which will prove hard to source particularly in the UK. So choosing Zen Chic metallic range was a good idea as it is still very available, but not so the older AGF prints although as it happens you had plenty of them so it all ended without tears. This time…..
8. Weighting a dampened quilt under a towel and heavy rugs worked really well.
What worked well that could be used in other quilts?
1. A simple zig zag round the quilt before adding binding worked well particularly with double thickness wadding. It is worth the effort
2. Leaving off the last lines of straight lines quilting at either edge until the quilt had been trimmed and zigged zagged round the edge meant the lines of quilting closest to the binding would be parallel.
If nothing else lessons have been well and truly learnt. Will I do it again? I really don’t know. I’m pleased I’ve had a go….it will be a quilt that will be seen daily and I hope enjoyed. If the judging comments are too damming I may just have to accept that I’m never going to attain or be prepared to put the effort in to attain that standard. We shall see and in the meantime I need to get my house back in one piece.
This is a finish on my Q3 FAL list first blogged here
Linking up with a Kelly of My Quilt Infatuation and Amanda Jean of Crazy Mom Quilts.
 I enjoy sewing with others particularily in a team effort but don’t get many chances sadly. But a friend who had seen my quilts asked whether I taught patchwork classes. Cue hysterical laughter. I could teach every short cut going and how not to do it but the quilt police can rest easy, I’ve no plans to teach quilting. Anyway I offered to show her the ropes if she was happy to help me make a quilt for Grenfell.
 Well 4 have been completed out of 8.
 The medallion quilt…
 The baby quilt…
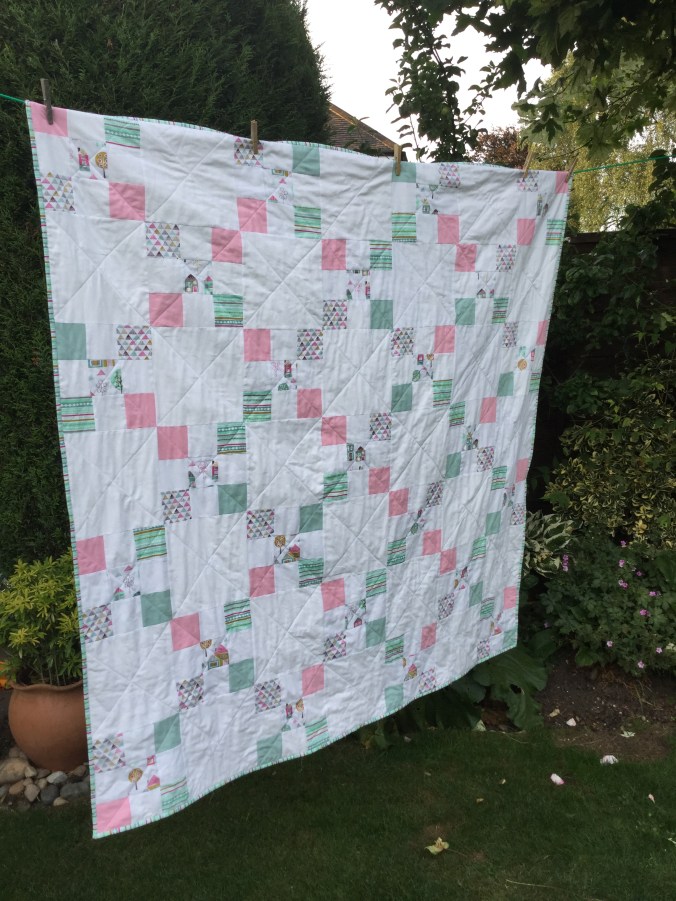
 And finally and up to the wire this quilt destined for someone impacted by the Grenfell Tower disaster…