 If you’ve read my blog before you will know I support, along with a whole host of other quilters, Siblings Together, a wonderful charity that brings children who are separated from their siblings in care together and then giving them a quilt as a momento. There’s more information on the tab above.
Month: November 2017
More on riveting
 When I recently made my Aneela Hoey’s Sewing Folio, a very cleverly designed sewing organiser, I asked my daughter her thoughts. She waved her hand round my sewing room and desk and pointed out that the one thing I wasn’t short of was sewing pouches/bags/containers. And she was right. However the one thing I am very short of are attractive shopping bags, I’ve plenty of the ugly bright orange branded plastic canvas type bags but given these get used each and every day it would be good to have something more stylish.
I have made a couple of shoulder bags before such as the ones below


but they don’t have the capacity for shopping. I made the Market Bag from Handmade by Anna Graham which most certainly does have capacity. It is sadly now rather tatty not helped by my not appreciating that black leather isn’t colourfast!

But I’ve always liked the professional look metal hardware gives on handcrafted bags particularily rivets but have been equally wary of giving it a try. I put this down to the fact that anything remotely related to DIY is completely alien to me so any activity using tools such as hammers, screw drivers etc although wielded from time to time by necessity, rarely ends well. My first DIY task after my husband died which was simply to put up a picture ended up with me puncturing a water pipe and water squirting everywhere. My lovely neighbour rescued me.
I could have asked for his help again but this is my hobby and surely it can’t be that difficult. But sadly it was that difficult! Whilst there are no shortage of articles and YouTube videos on how to rivet I couldn’t find any with the specific measurements because when you come to buy rivets you are faced with all sorts of complicated choices like size of the rivet cap itself and the post on which it sits. So I bought a sample pack from Amazon of a variety of sizes. That gave me an idea as to which sizes I wanted but choosing a cheap product wasn’t. I reckon only 1 in 4 I managed to successfully rivet. The rest were misaligned or crushed. Armed with the sizes I wanted and back to Ebay this time to look for a ‘proper’ supplier, I ordered a couple of batches from Abbeytops. I liked the 9mm cap size with either a 8 or 12mm Post. Now it worked and of course practice makes, if not perfect, better! I used them on the leather on the Tiny Treasures Trays by Anna Graham (again) in my most recent tray makes.

But back to my shopping bags, rivets in hand …. I’d acquired in the remnant bins some upholstery fabric perfect to give the bags some heft and as bags use lots of fabric this proved economical at c£4 per remnant. I had liked the additional structure using recycled denim gave to the shoulder bag pictured above so wanted to incorporate that as well. And finally a new type of interfacing.
I’d read on Mrs H’s blog about headliner. I’d never heard of this but it is the fabric in cars that lines the roof on the inside. As you can see it has a thin foam backing. If you are familiar with Soft and Stable it is thinner but has more substance than say the thicker fusible waddings. But best of all in the U.K. at least it is a quarter the price of Soft and Stable. Using this was a great success – it’s not fusible but the foam side is sticky so it’s easy to quilt to your fabric with a few pins in place. It’s given the bags a quality feel with good structure.

Armed with quality rivets it was very easy and the tutorials came into their own.
I read on Svetlana’s SOTAK blog, a talented designer of bags and pouches, that for extra strength she sews on the leather handles. That seemed a wise move so I did that as well

As to the design having made bags before I felt confident enough to make them without a pattern. I made them a bit like you make a drawstring pouch with the exterior and interior all in one long piece. Please excuse the night picture and messy floor. It’s a simple and effective way.

Its often the proportions of something that makes or breaks it. I’m pleased with the shape of the smaller bag but the larger one needs to be wider at the top. I was limited by the size of denim I’d got to hand. As an aide memoir to me the sizes of the two bags allowing for a generous 1/2”seam allowance from bottom seam to top of the bag (so not giving separate measurements for the two pieces in each bag front) are…
smaller bag – depth 15.5” , width 15.5”
larger bag – depth 18.5”, width 16.5”
I think next time I will go for min width 18.5” and depth 18.5” to give a better proportioned larger bag and then possibly one for over the shoulder at say 17” depth but 20.5” width.
Update I did use this larger size 18.5” by 18.5” on two bags for friends for Christmas. That size does indeed make a roomier bag and looked like a proper shopping bag.

Re rivets where the rivet passes through denim this took a 12mm post but when it was just the fabric I got away with the 8mm. The leather is 2/3 mm depth. Another tip is I must remember to fit the zip pocket into the liner before sewing the bag!! Now I just need to get some more remnants and leather! With the rivets I have 150 of those, so they will last me my lifetime…..
 Linking up with Crazy Mom Quilts
Hourglass quilt 3
 You would be forgiven for having a sense of deja vu with this quilt – it’s the third hourglass block I’ve done since the summer arising from an amazing bumper crop of blocks provided by members of the Siblings Together Bee 2. Continue reading
The Fold Up Sewing Folio – Aneela Hoey

I don’t buy many sewing books frankly because there is just so much material out there on the internet that I don’t need the extra inspiration. It’s also because I usually want to make one specific item that’s caught my fancy and I will happily buy the PDF pattern from the designer. But I made an exception for Aneela Hoey’s Stitched Sewing Organisers.

Keeping it in the family

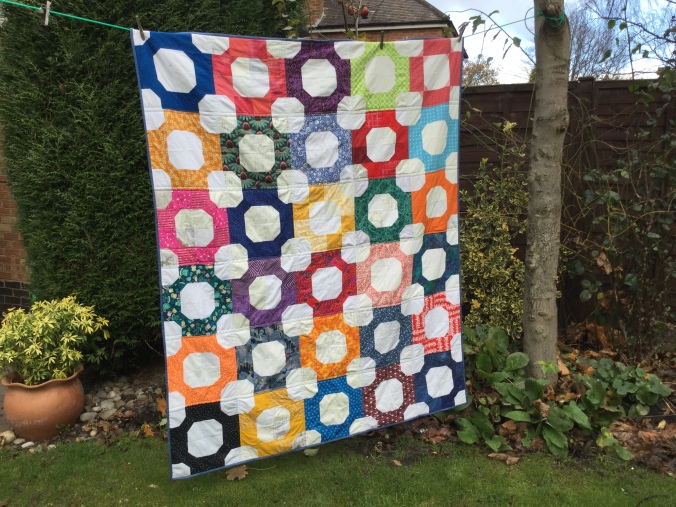
This quilt is destined for our front room, supposedly a lounge for my teens to entertain their friends. It has everything teens expect a tv, games station and computer but for some reason they prefer the family lounge. In an effort to make it more homely I’m hoping this quilt will do the trick.
My lovely mum who just turned 90 was up with us and offered to do some sewing. I don’t think she is any more enamoured with my Pfaff than she was when she sewed with it on her summer visit. Continue reading
