A word of caution to start with, I’m Mama for two bees the month of July so this is for bee members of. Bee. It’s easy to get confused, I am afraid it happens to me very frequently but at least this block design is going out on time!
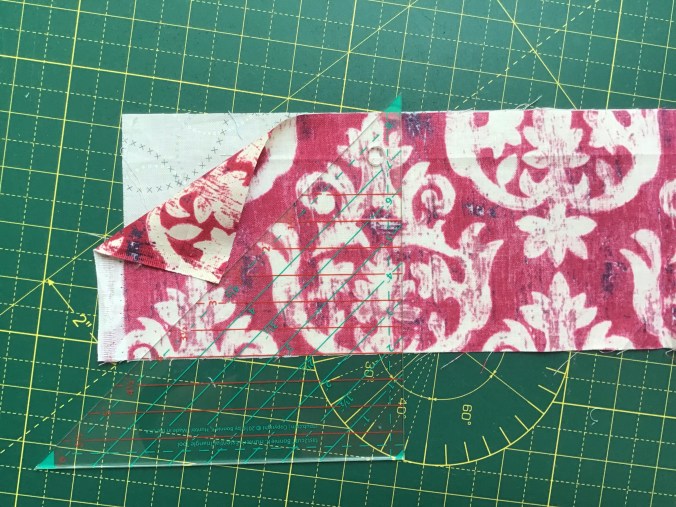
Its a nice and simple block of just half square triangles (hst). I saw the design on Rachel’s Stitched in Color. She is a regular blogger and well worth following not just for quilty inspiration, of which there is masses, but she shares her life, stuff like the hugely brave adventure of moving to The Netherlands from the USA. I had also seen the design in a quilt magazine so it’s not unique but another way, out of myriads, of using hsts.
So the plan is quite simple. I’d like you to make two complete blocks. Each block contains 8 hsts. The hst need to be 4 1/2 inches unfinished size and then when they go into the block they will become 4″ finished size. I will leave you to choose the best method for you for doing hst. There are multiple of ways and we all have our favourite.
My preferred method is using Bonnie Hunter’s Essential Triangle Tool. The downside is you are sewing on the diagonal as opposed to the straight but the upside is the speed. You cut strips, you put them right sides together, you cut triangle pairs and then chain sew them together. Provided your 1/4″ seam is good (well good enough…) then they don’t need trimming other than one dog ear.
As to colour I am relaxed but I was thinking no especially bright colours or any primary colours, so no bright red, bright blue etc You will see I’ve chosen prints but no primary colours. As to neutral as long as there is a good contrast and it is light then go for it.
If you recall we have August off to allow for most of us who will be away a part of the next two months. So no rush…
…and a day shot when at last after the wettest and greyish of June weeks the sun appeared
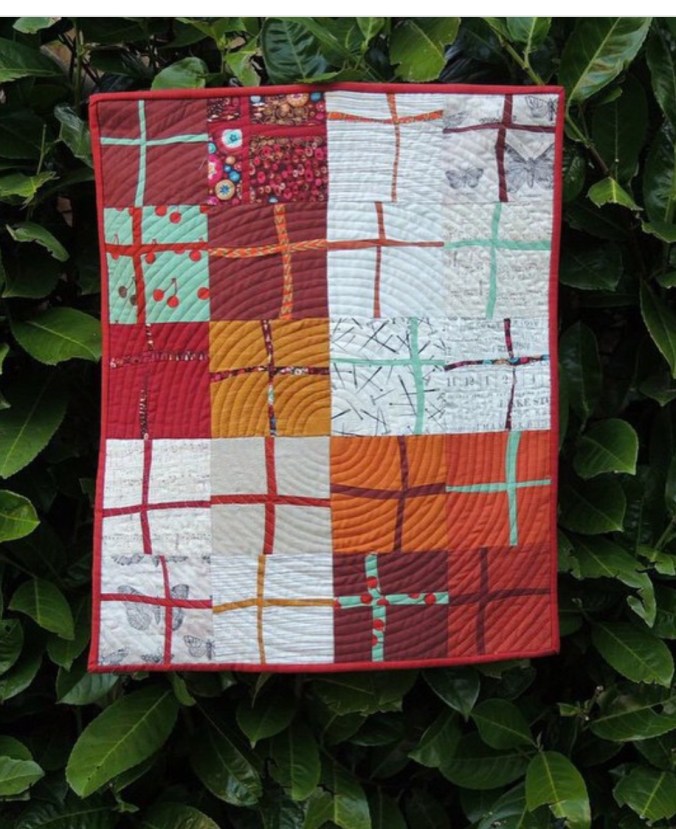
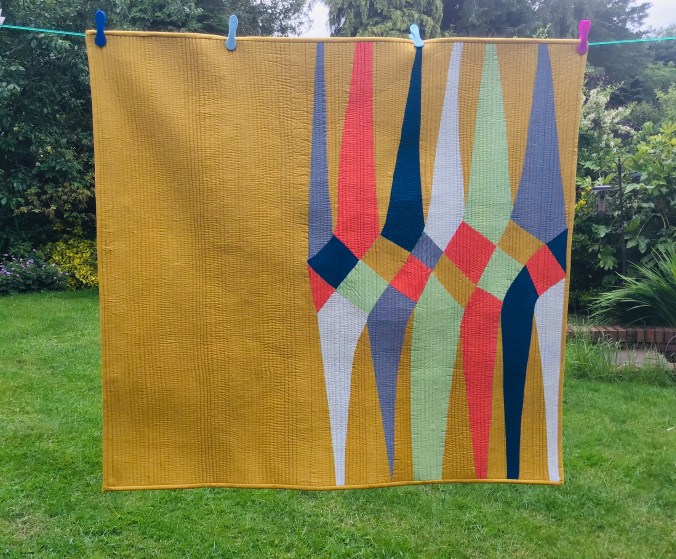
Quilt name: Coral Glitter
Size: 43” by 37”
Location: UK
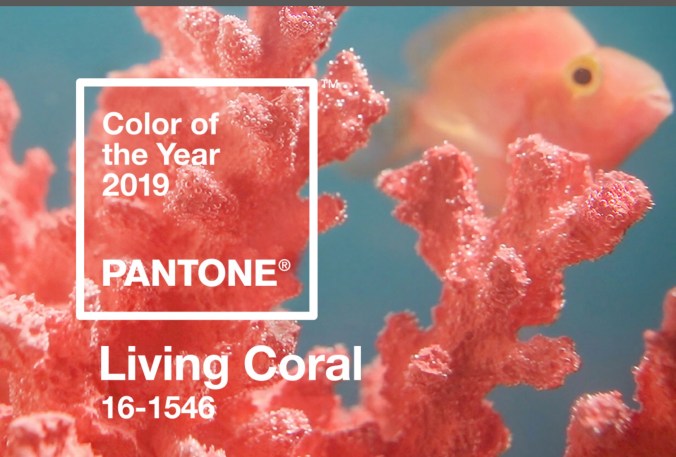
Each year Pantone, the colour advisory organisation comes out with a colour of the year. I’m not entirely sure of the purpose of picking one colour but I guess the idea is to promote Pantone and to get people excited about a particular colour and how it can be used in fashion and styling. Anyway it’s the perfect excuse for a challenge to Quilters to make a quilt featuring that colour. Rebecca of Bryan Quilts and Sarah of No Hats in the House are hosting it this year.
This year it is Living Coral.
The last time I participated was 2015 when the colour was Marsala, a burgundy brown, no not the colour of a curry!
Since then the colours have been purple, bright green and a weird pink/ baby blue combo. None really inspired me but I like coral so I thought I would go well out of my colour comfort zone and blend it with some other colours to make an improv curvy design.
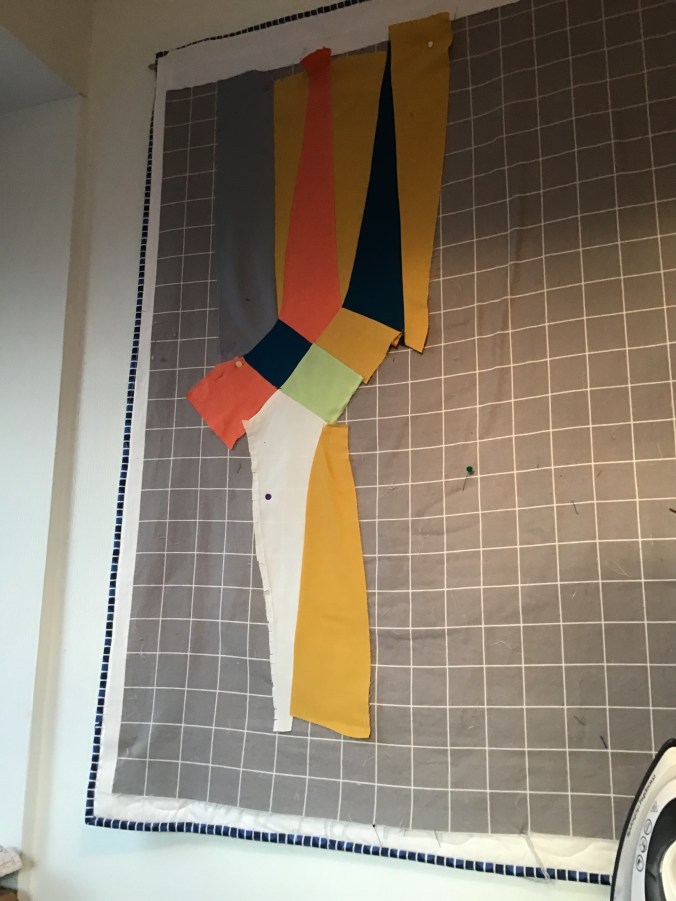
As to design I’d always liked pointy shapes like diamonds, Jen Kingwell’s Glitter block (in honour of which this quilt is named) and the periwinkle block. I was further inspired by an unattributed wood block design on Pinterest that appealed to me but I reworked it into curves and different colours using fabric of course and it became this quilt.
I first sketched it out in TouchDraw, the poor man’s EQ software! It was very helpful in pinning down the colours. Also by fluke I extended the background and got that large negative space to one side which made it for me as a design.
As you can see it’s pretty similar although rather rough and ready.
All the fabrics are Kona and the main colour is Curry, along with Nectarine, Green Tea, Bone, Mediterranean and Overcast. They have such nice names. Someone must have fun thinking them up. It’s interesting how the coral really brings the piece alive.
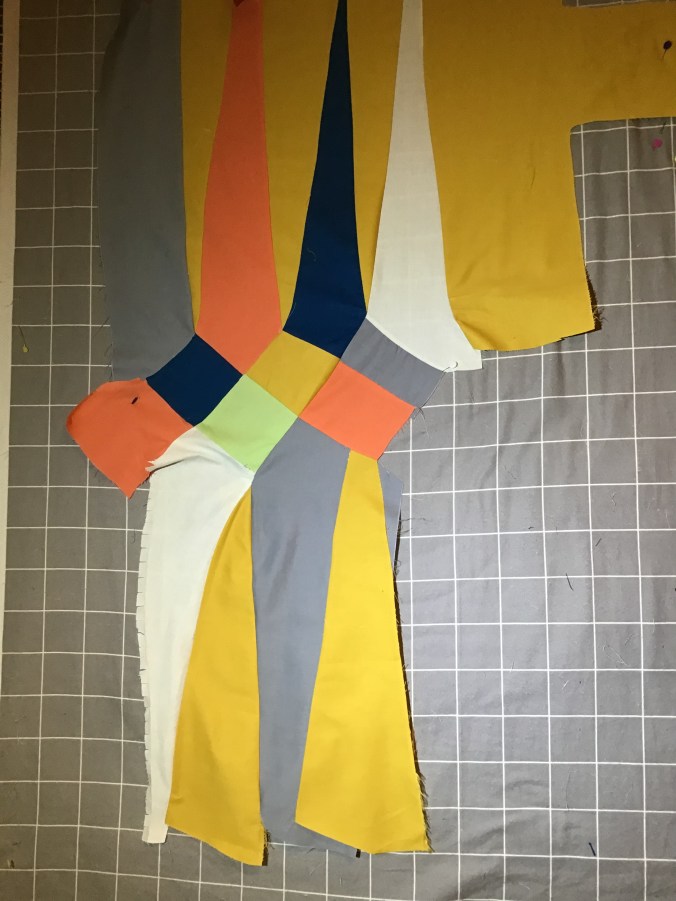
Assembly was frankly quite a headache. A range of methods were used from the inset circle method using freezer paper, improv curves for the very gentle curves and those that are more pronounced I fitted it up on the design wall. It was like a steps exercise class as I needed steps to reach my design wall and I was up and down, up and down….
It was also a little bit like dressmaking as I pinned the pieces in place. It was assembled in curved pieces…
The final assembled quilt top was a bit baggy in places so needed a fair bit of readjustment to get it flat, well flatter! You can see the amount of flapping on the bottom section. For some reason the top section and the pieced middle were pretty good but it all went pear shaped, quite literally, in those bottom sections.
As to quilting I just wanted something very simple but with bags of texture and went for match stick quilting, well not actually matchstick width, a bit fatter than that but I was nervous that too much quilting might dilute the design.. I used a range of different coloured threads to match the fabrics in the quilt.
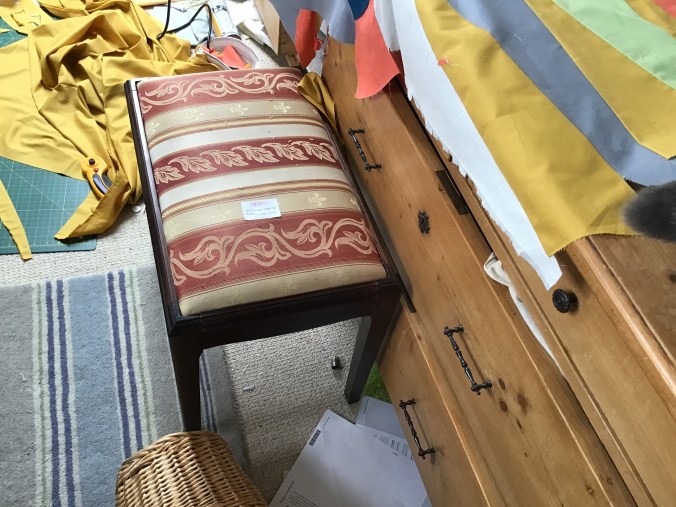
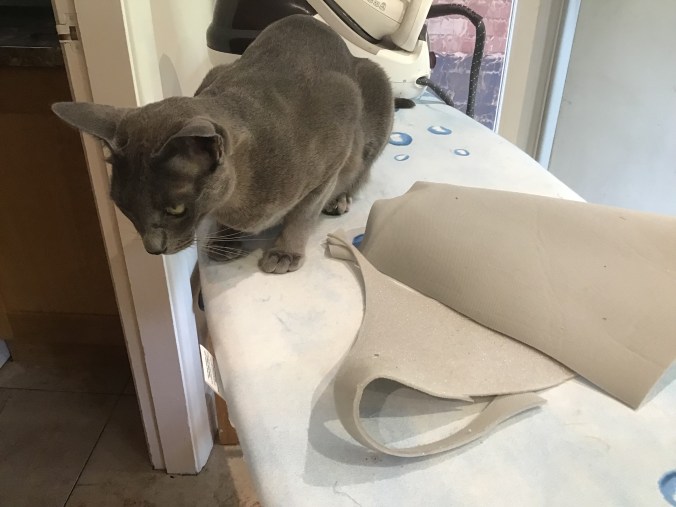
One departure from usual was not to use double wadding which I would always do for a wall hanging but have one layer as usual but use a layer of headliner fabric. This is the material which is a very thin foam on one side and fabric on the other which is used to upholster the inside of ceiling of cars. It looks as boring as this, even Felix is unimpressed. …..
But headliner is fantastic stuff, it’s cheap, it gives great structure to bags and 3d objects and I just wondered whether it would work for this wall hanging. Sewing through to quilt it was relatively easy but it does need pin basting. For some reason the usual adhesive basting glue I use just doesn’t cut the mustard. And it does make the quilt more unwieldy when you are wrangling it through a domestic sewing machine at the quilting stage. But overall it gives a nice firmness to the quilt, perfect for a wall hanging but not perfect for one that you want to snuggle up in.
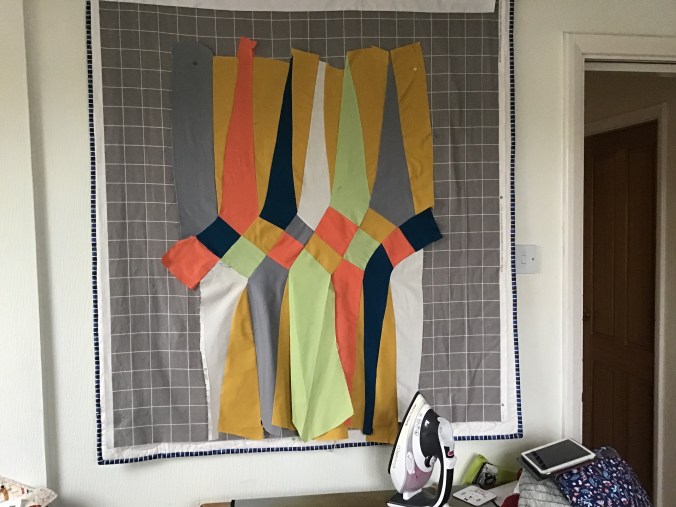
its been a bit of a mad dash to get this finished. I thought I’d done that earlier today and even was so well organised I had taken outdoor pictures.
Can you see the difference? When I looked at the original quilt in the top photo it didn’t look enough like the original design on TouchDraw, crucially no right hand border and it looked out of balance. So nearly 4 hours later it looked much better but no outdoor picture as it was midnight here. The deadline is 5am UK time so plenty of time…..!!
UPDATE Snooked one in when the sun came out the next day. Nothing beats natural light!!
So sorry everyone in Bee 2, this one slipped me by, my excuse? It’s GCSE season in my household with the twins having some 40 plus exams between them. One of them has been working hard and diligently revising the other one hasn’t. I have one of each and I will let you guess whether it’s my daughter or my son putting the effort in and the other winging it!
For non UK readers these are mandatory exams for 16 year olds that the lead onto either further academic or vocational. I’m afraid I’ve been rather distracted…… we are 11 days until the finish line. But Sue very gently nudged me. I don’t think it’s the first time…..
Anyway this is the June block for Bee 2.
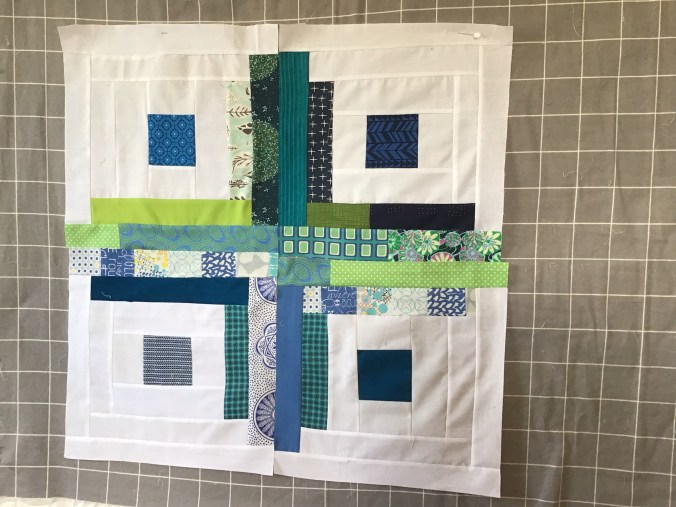
The sharp eyed will note that one of those strips is thinner than the others. This was a cutting mistake…
Four of these blocks make a scrappy cross as pictured at the top. But just to say I only need you to make 1 or 2 at most depending on time, fabric and energy.
When looking for inspiration I often drop by Ashley’s Film in the Fridge blog. She has some great quilt designs which she doesn’t sell but are the type that are perfect for Bees. They are nearly always use scraps, all relatively straightforward but pack a lot of punch for the simplicity of the block.
I thought we’d have a go at Courthouse Corners
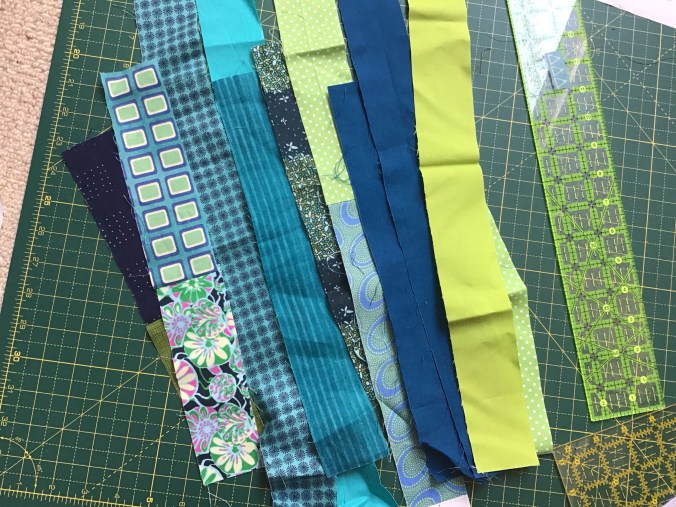
These are absolutely perfect for scraps of the thin variety, even better when you can sew shorter lengths together. I have even used a scrap strip set I used from the very first quilt I made from a jelly roll! As you can see I’d like blue/green colours of all varieties, prints, solids etc.
You will also need plenty of a bright white solid.
Please use a scant 1/4″ seam.
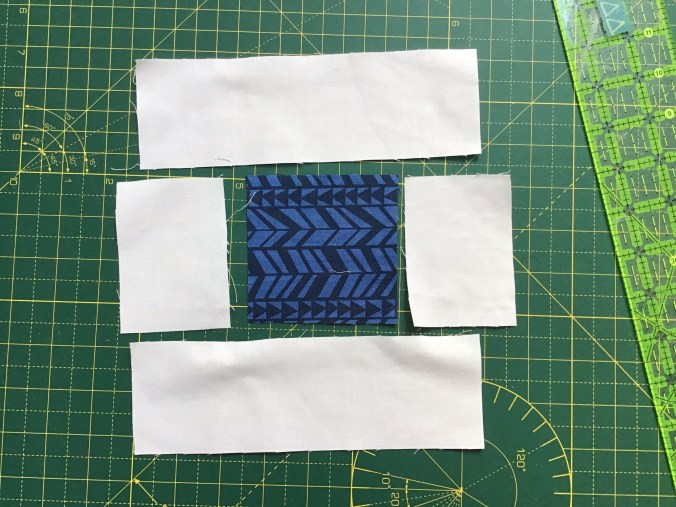
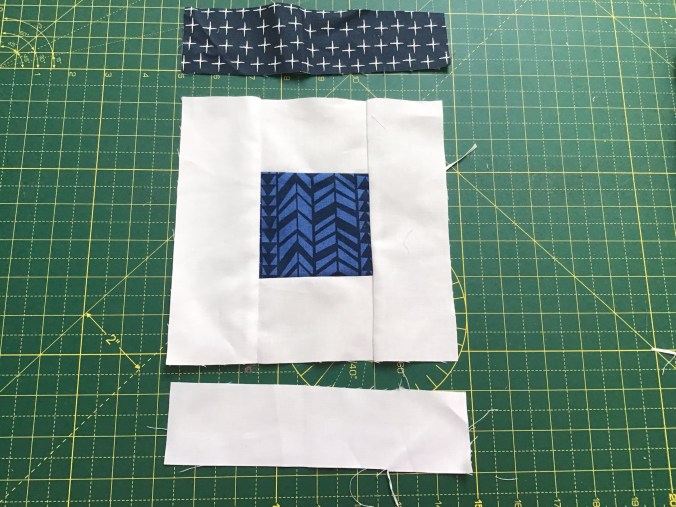
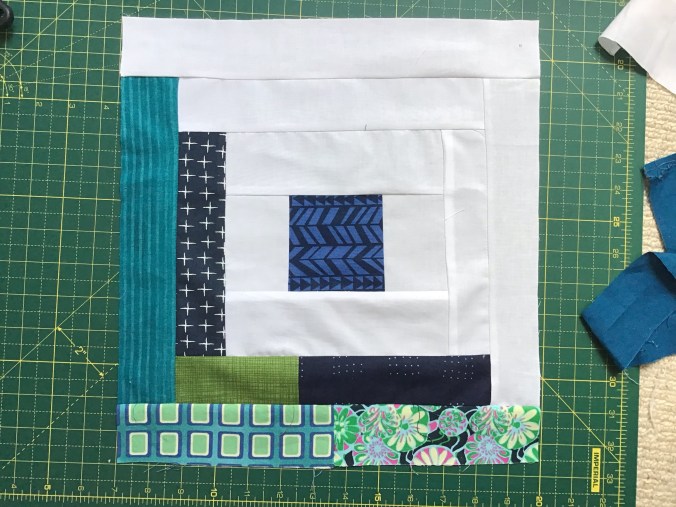
I made four so you can see the effect and they used a large amount of blue/green scraps I’m pleased to say. The first step is to make the centre.
This requires
3.5″ blue or green square
2 strips 3.5″ by 2.5″ strip
2 strips 7.5″ by 2.5″
Assemble them thus
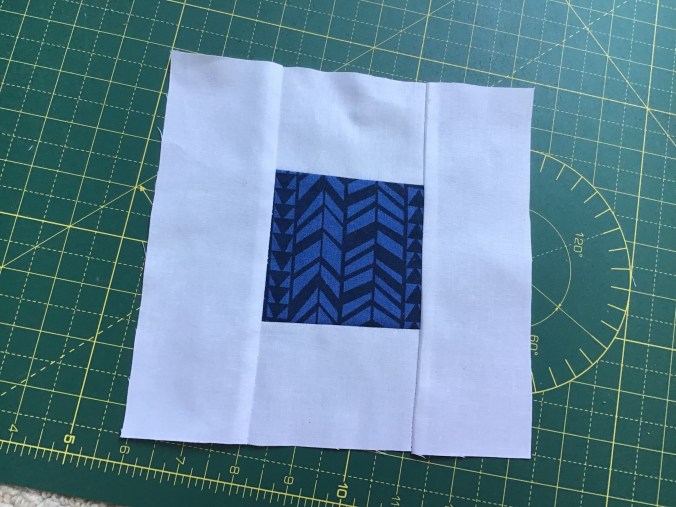
Sewn together they will look like this and should be 7.5″ square
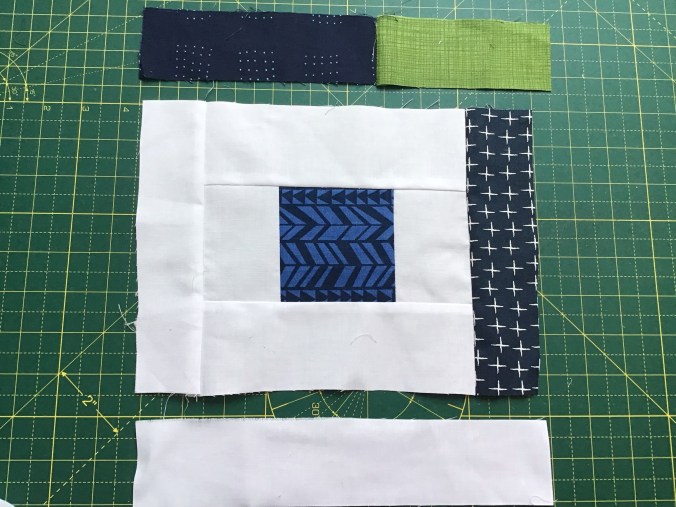
For the outer strips I’d cut to order 2″ coloured strips and a bunch of 2″ bright white strips. They need to minimum be a 7.5″ long up to 13.5″ long. I got through this amount for 4 blocks
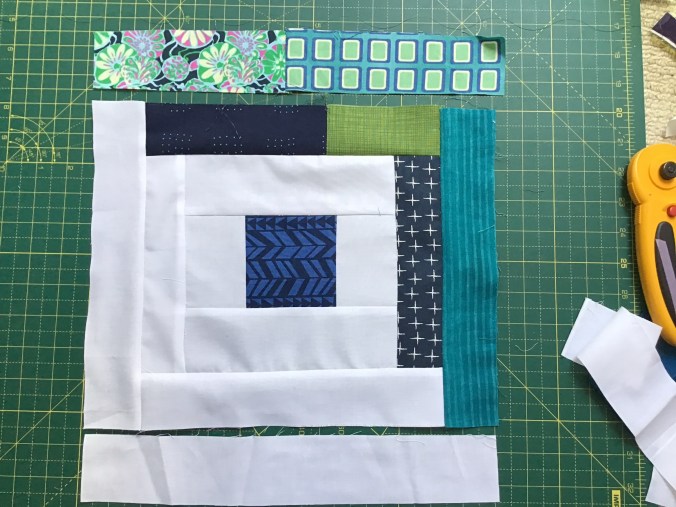
Add to the 7.5″ square thus in the court step way rather than log cabin which takes more time ironing
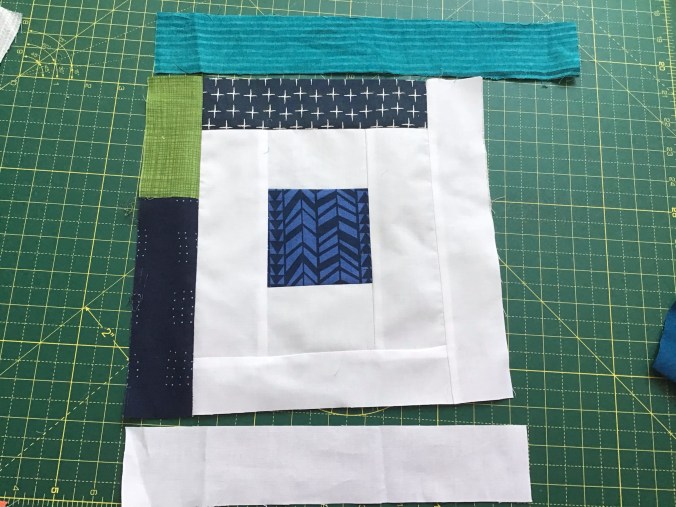
The next set of strips go here
And then again turning the block 90 degrees then add two more strips….
And add the final strips to make the block
The block can remain untrimmed but if you are keen please trim to 13.25″. It should theoretically come in at 13.5″ but shaving it down a1/4″ gives some wriggle room.
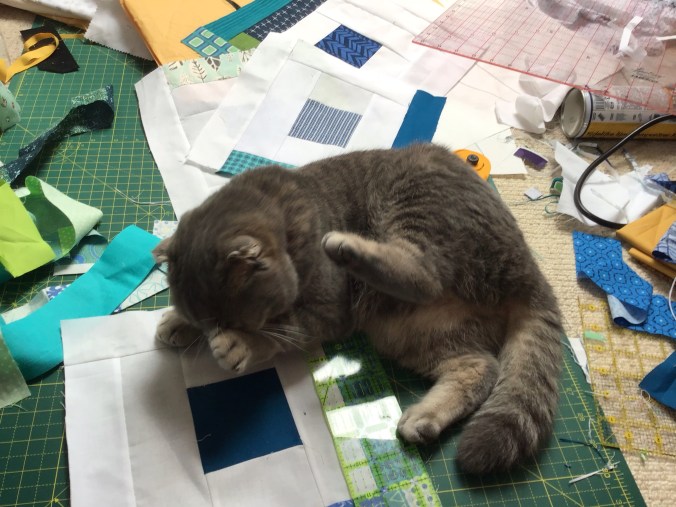
As you can see I had help…..
Well the great thing about this block and other bee block I’ve done for Bee 7 my blue scarp drawer closes very easily now.