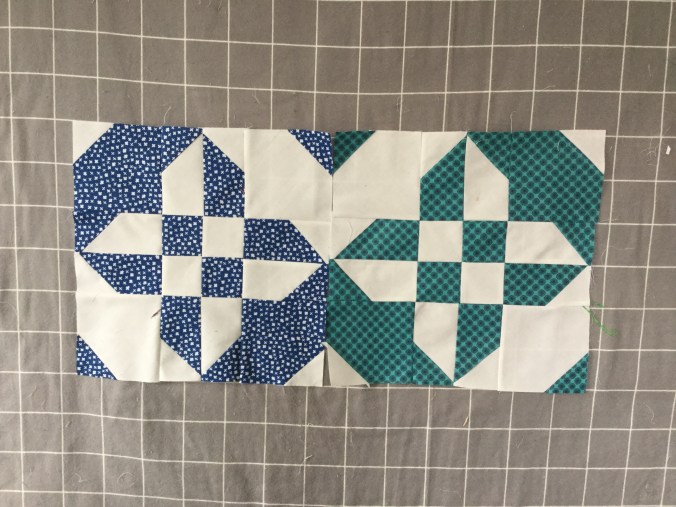
 The best blocks are those that look tricky but are in fact just clever cutting and putting back together. This is a block called Disappearing Hourglass 2 coined by the wonderful Jenny Doan of the Missouri Quilt Company fame.
I make no apology for taking inspiration once again from Jenny. I doubt if I’m the only novice quilter who found her clear, well presented video tutorials as their first introduction to the world of quilting both educational and inspirational. Compared to many other quilters out there who do video demos, despite their extensive knowledge, the pace and or delivery means half way through you begin to lose the will to live! But Jenny’s light touch and good pace means she is very watchable.
Anyway I came across a quilt on Pinterest and followed the link back to a video tutorial. For those who prefer to read instructions here are the block details.
Firstly to colours, non floral blues and greens please with a white bright solid background. I did think it would look good with a more varied background, grey, light blue etc. My teen advisers thought differently.
Anyway for the two blocks requested you will need 2 x white 10” squares and 2 x 10” squares of blue or green solid or prints.
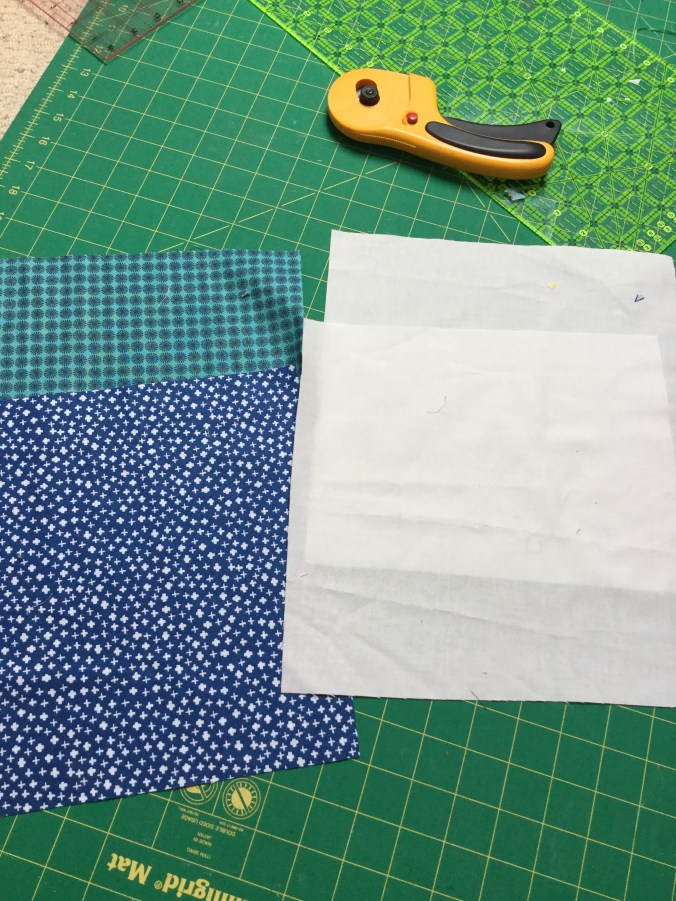
Put the white and one coloured squares wrong sides together and sew round on all sides a scant 1/4”. Then cut corner to corner as below.
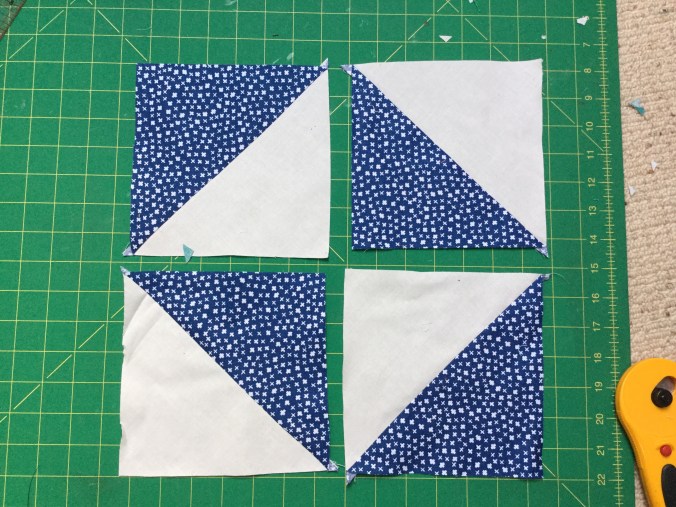
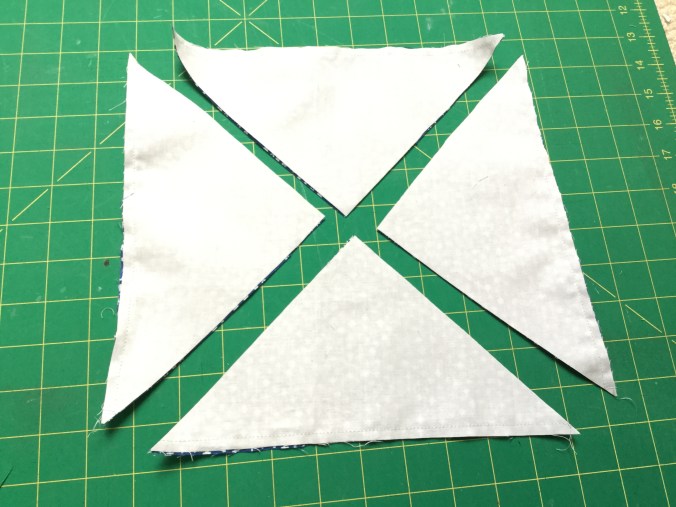 Now open them out and press and then reassemble as below and stitch together. When sewn it should be 12.75” square
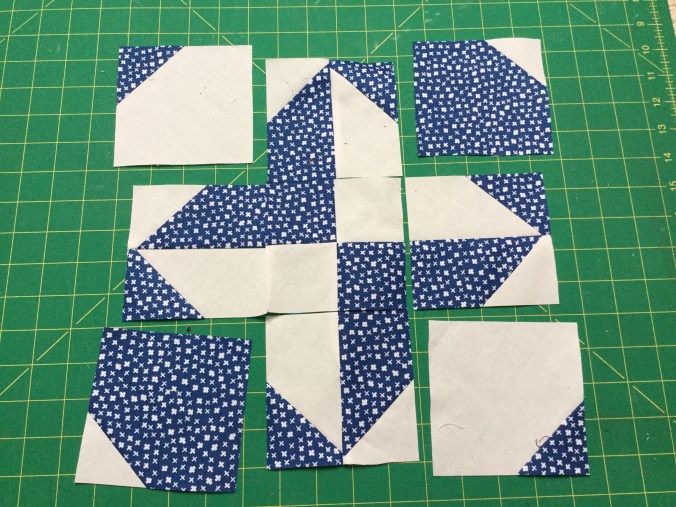
 Now you need to cut this square to make nine equal squares. To do this measure from the vertical centre line 2 1/8th” and cut and then 2 1/8th” from the vertical centre line on the other side of the line and cut. Then do the same two measurements from the centre horizontal line and cut. See pictures below
 Now to twizzle the pieces to get the design.
Firstly take each corner and turn 180 degrees as below
 Then turn the centre square by 90 degrees. It should look like this
 And then sew the pieces together.
Is it only me that tends to lose track as I take the pieces off the mat to chain sew them together. Somehow I sew the wrong side – I certainly did that with these blocks! Thank heavens for camera phones when you can take a quick snap of the unsewn block so you can check it as you go along.
The finished block should be 11.75” square or close to that but the block has a fair bit of give in it so I can pull and tug if the size is slightly out. It won’t be the first time…
Any problems or queries please let me know.

great blocks
LikeLike
Very cool…love the look of that
LikeLike