What a great idea of Bernie of Needle and Foot to have a link up to do with all the quilting blunders we make to counter balance the beautiful and successful creations that fill most people’s IG and blog posts. I’m as guilty as the next person in showing the pretty stuff I have made but this time I’m going to let my mistakes shine through to show, as Bernie put it, quilting in real life.
Well real life quilting definitely goes on here.
Mistakes
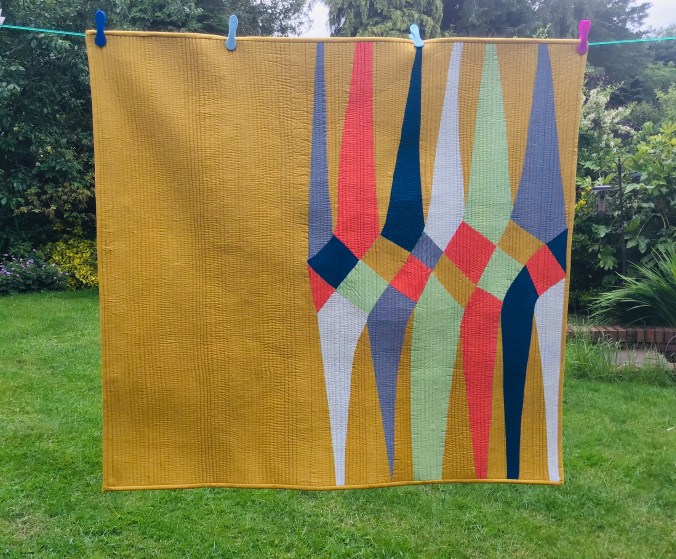
Where do I start there have been sooo many but one I came across only the other day made me smile. I made this quilt for our lounge, its the perfect colours and is probably my family’s favourite quilt and is in constant use. I happen to see a picture of it on Pinterest and suddenly realised that there is a block in the bottom row, left hand side that is the wrong way up. I have looked at these pictures and the actual quilt a 100 times and never seen it. Its even highlighted as it is draped over the sofa picture. But oddly while I would have changed it pre-quilting now its there I like the quilt even more.


Lesson learnt – some mistakes remind us a) we are human and b) its hand made and therefore won’t have factory made perfection.
Blunders through the misuse of tools..
We all have a humble seam ripper, which in my case gets used very regularly. In fact I have bought and been given tens of the things over the years and yet at this point in time I could only lay my hands on three. When I leave this house I’m going to find dozens of the things in a pile with all those missing socks…
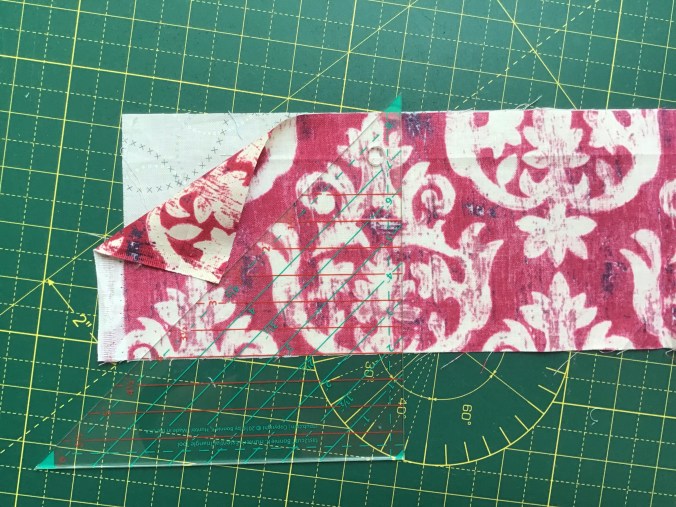
Anyway for its usual purpose of ripping seams I speed rip by using the little red blob at the end and running up the offending seam. I’ve sort of learnt when it doesn’t feel right and mostly get away without ripping fabric. But on one occasion, when my brain had taken a brief holiday, I used the point of the seam ripper to remove papers from a paper pieced mini quilt being made for a quilt show. I wriggled the pointy end and pushed too hard and ripped the block across the centre as you can see.


This wouldn’t have been so bad but I’d sewn all the blocks together with the papers still inside. And the blocks were small and it involved a major rework. The smallest part in terms of time was making a new block, much more time consuming was dismantling the quilt to fit in the new block. It never lay as flat again…
Lesson learnt – use the stiletto or darning needle, not something with a cutting edge to get those paper pieces out.
Blunder – using the wrong thread
This was an experimental piece to practice curves and using scraps for interest. I quite like the top but the quilting is just meh.

It’s an underwhelming design and doesn’t really play to the design. Better would have been just vertical lines but what really detracts is using a variegated thread. Against such a minimalist design instead of adding variety which was the intention, it just looks weird, as if it’s marked.

Funnily enough I used more or less the same fabric and thread to replicate the sea on this mug rug for a swap and it works really well. The variation comes across as sunlight glinting on the water.

Lesson learnt – either do a trial of quilting thread on a piece of scrap or be very cautious of variegated thread
Blunders – fabric bleeding
I don’t prewash fabric but I will if I ever choose to use a solid red again.
This quilt for my room looks lovely doesn’t it? Just fresh off the machine….that lovely wool batting giving it texture and warmth. The red prints contrasting nicely with the Oyster Kona fabric neutral. Its a pattern by Sew Wonderful by the way using their Quick Curve Ruler which definitely lived up to its name.

It needed washing much sooner than I’d envisaged – blame the cats! Disaster – the deep red flannel backing bled profusely.

It was madness not to prewash that backing although even after countless washes it still colours the colour catchers. And the quilt itself has a pink hue to the pale fabric. Jayne of Twiggy and Opal who makes beautiful and original, mainly solid fabric, quilts has had a similar issue but I won’t steal her thunder as she may well link up.
Lesson learnt, prewash solid red fabrics and use light coloured backings for quilts which have lighter fabrics on the front
Downright ugly
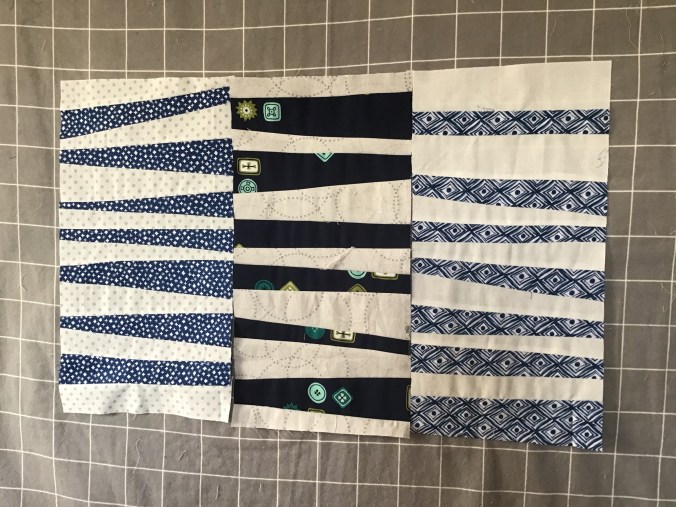
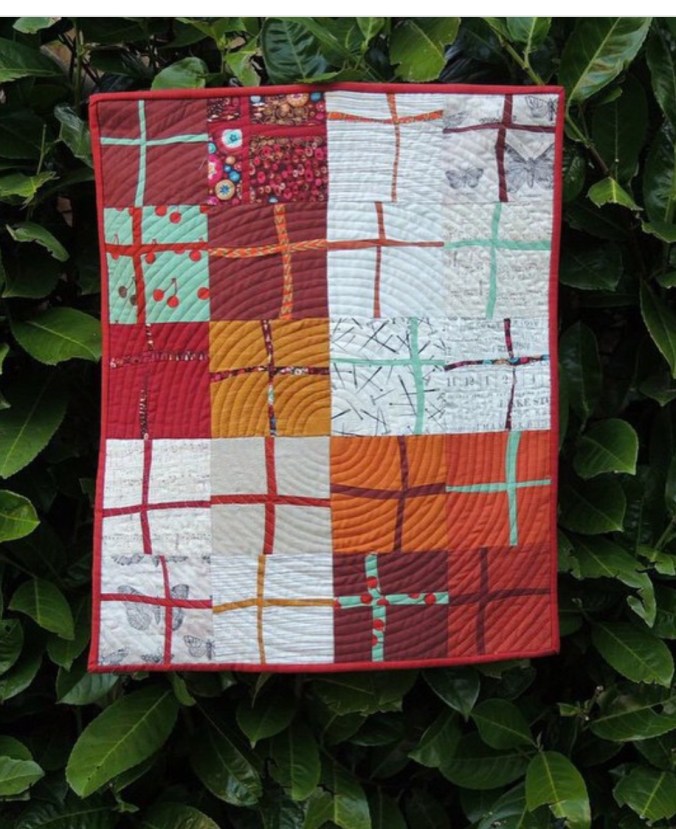
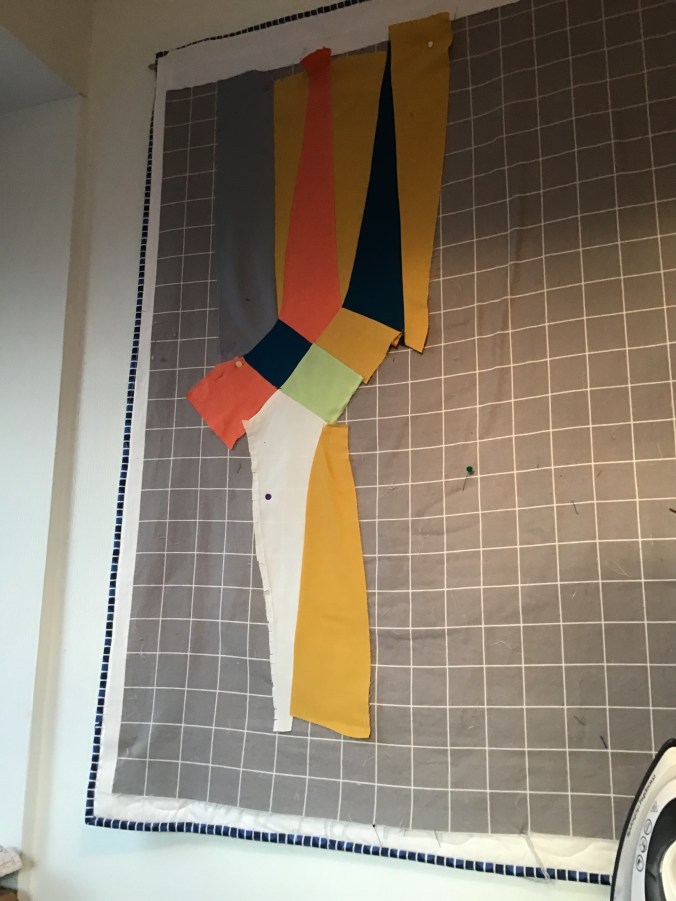
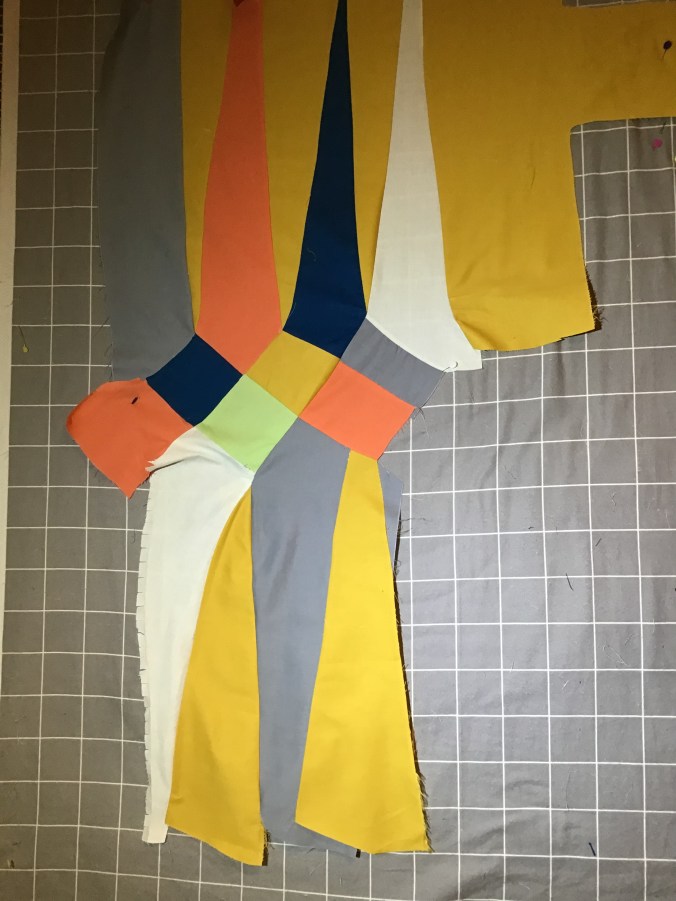
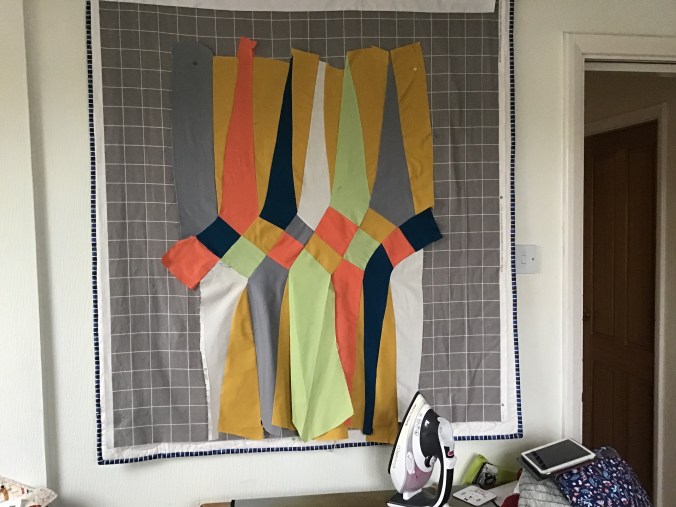
Generally when making a big item like a quilt for example I spend a fair bit of time looking at what others have done with a similar design, copying effective colour ways or I will do a trial block so fabric choices get tested etc. And also I am simply not dedicated enough to persevere with an ugly quilt! Of course I’ve made quilts that are less attractive than I’d hoped for and others that have turned out better than I expected but in the main they have been attractive enough to gift or use. But somethings I’ve made just look downright ugly. Look at these….

These pouches are from a free pattern called Zola, a link to which was found on Bonnie Hunter’s blog. She had purchased a similar pouch at Disneyland and loved the fact it contained her hand sewing but made a little tray when unzipped, so useful on the many flights she does. I agree I love fabric trays, they are so handy to stop things rolling away. So I thought I’d make a couple and see whether they worked.
When unzipped they don’t look too bad as trays, although the fabric choice for the zip on the teal/aqua one is dire. But zipped the original design sort of falls over because the base has two parts so is inevitably unstable. I made a second (the teal/aqua one) with a one piece base but higher sides which makes the tray a bit more awkward to use and the third with 3 pieces on the bottom which sits better. I also like the colours more. As you can see this one is in regular use.

The other truly ugly one is here

This is from the lovely Tiny Treasures tray pattern by Anna Graham Noodlehead. I’ve made loads of the smaller trays and they are really useful and effective so I thought I’d give the bigger one a try. But I didn’t read the instructions correctly and the leather handles were ridiculously long. It’s funny how small details can wreck a project because these designs are in fact actually very attractive and easy to do.
I tried to take off the handles but the rivets stuck firm, I even tried to shorten them as in this picture with further rivets but they looked even more ridiculous. It was just for my sewing room so no problems there, I just cut off the handles at the rivet point.
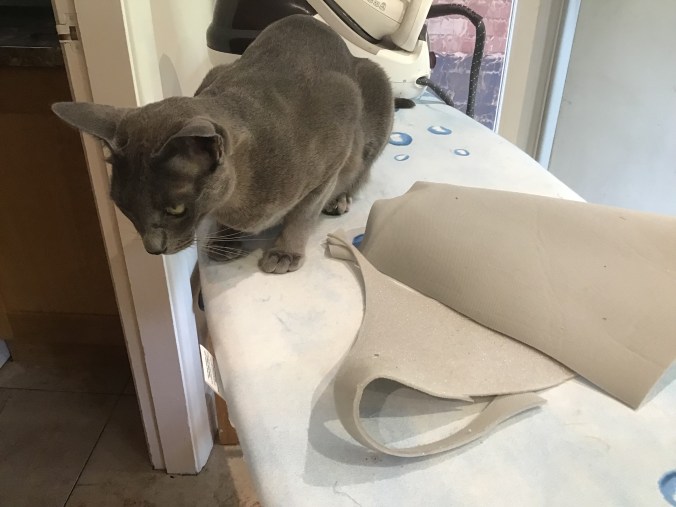
As you can see not only is it useful for holding quilty stuff but when it’s empty the cats have loved it as a cat bed!


Lesson learnt – even ugly things have their uses….


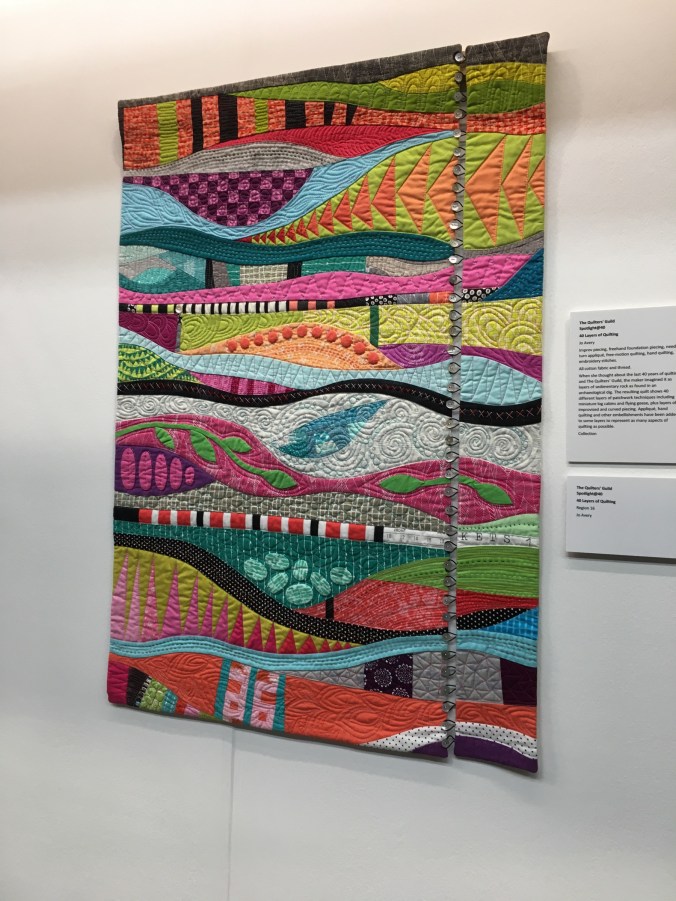
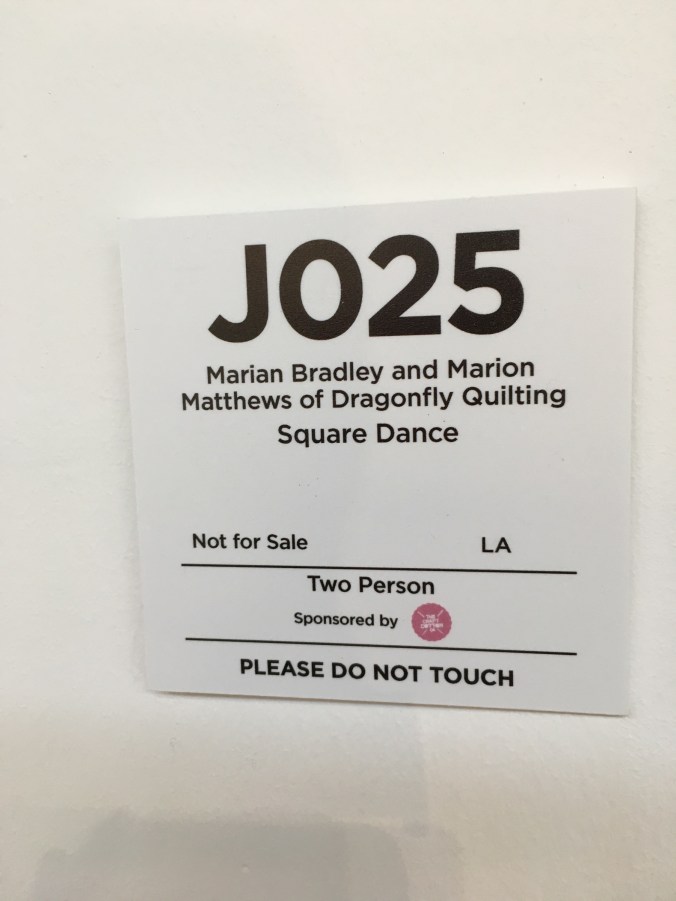
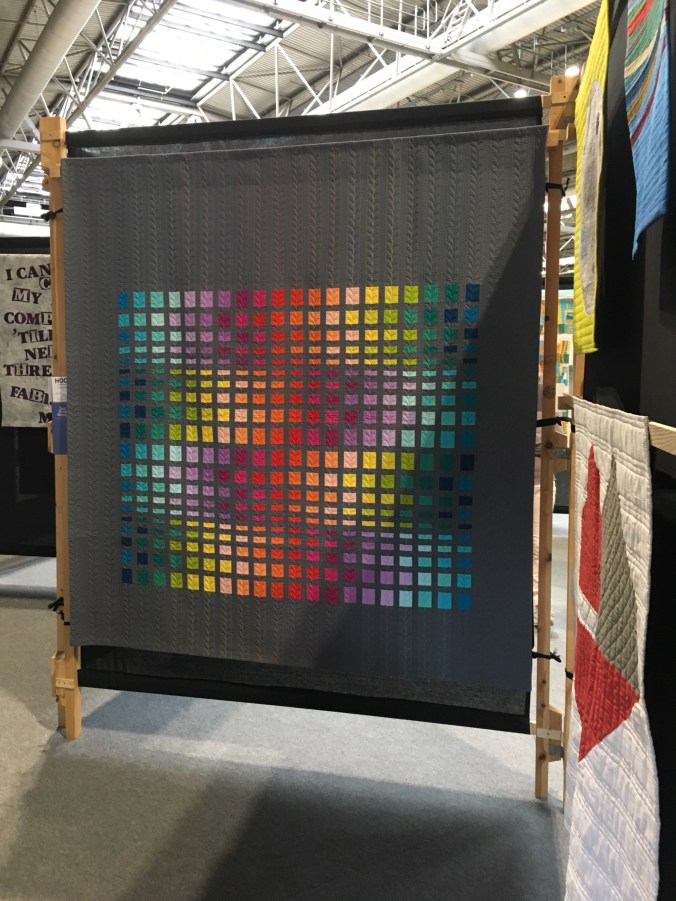
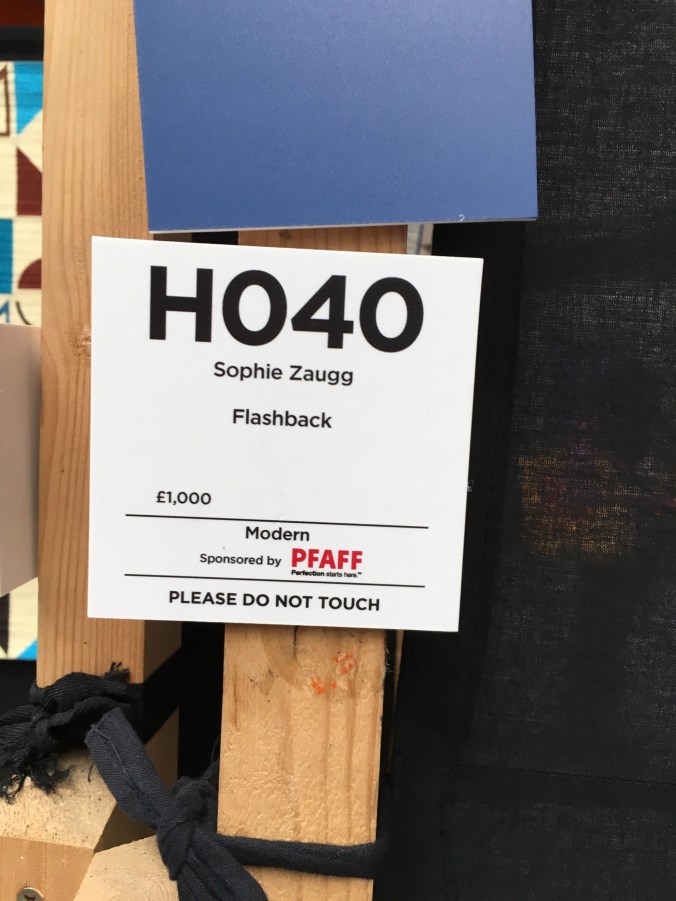
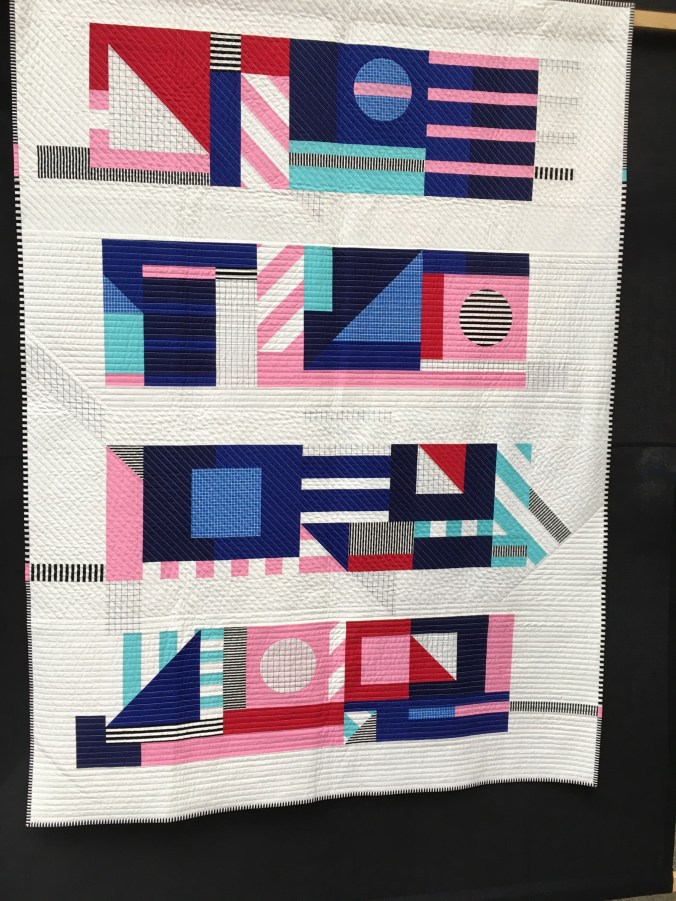
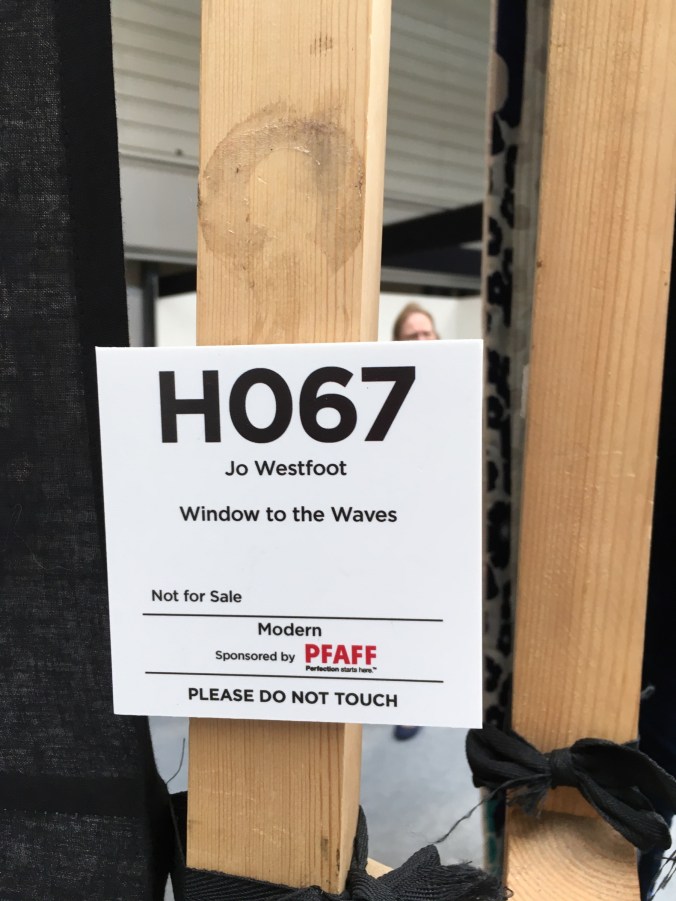
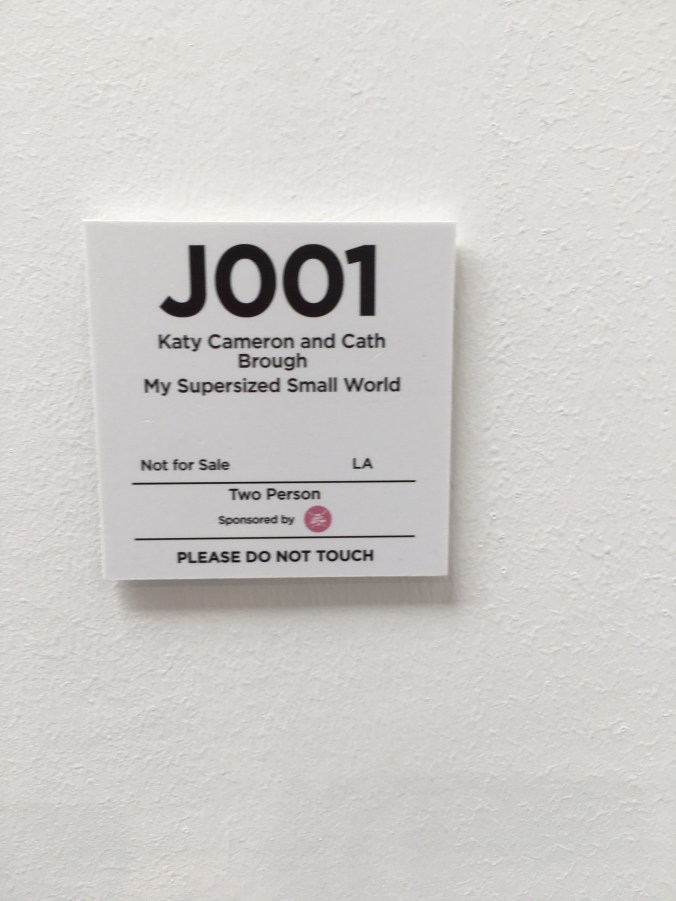
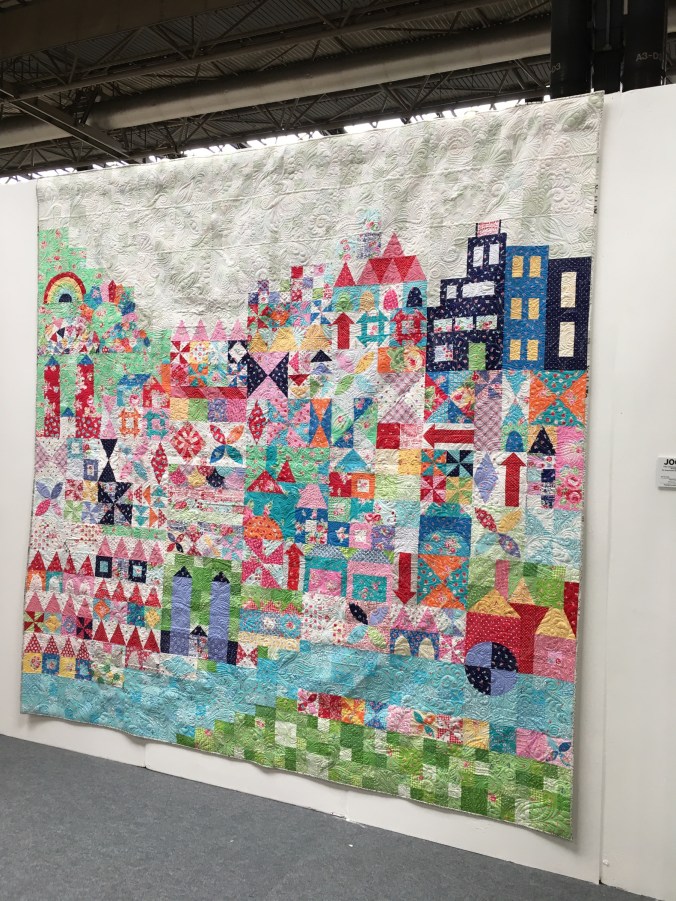
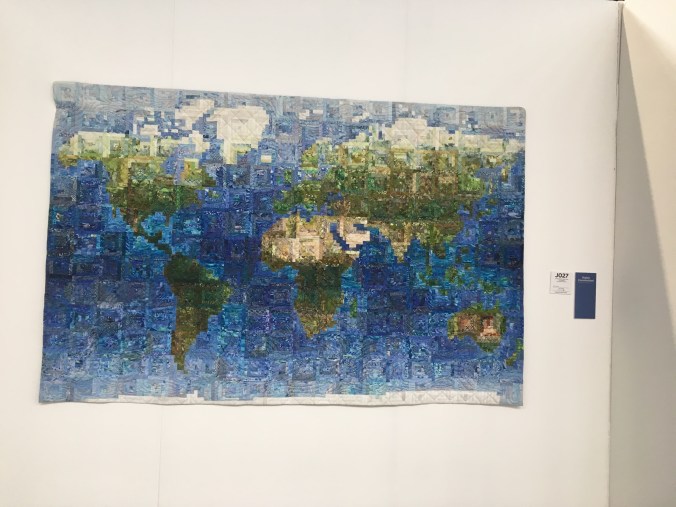
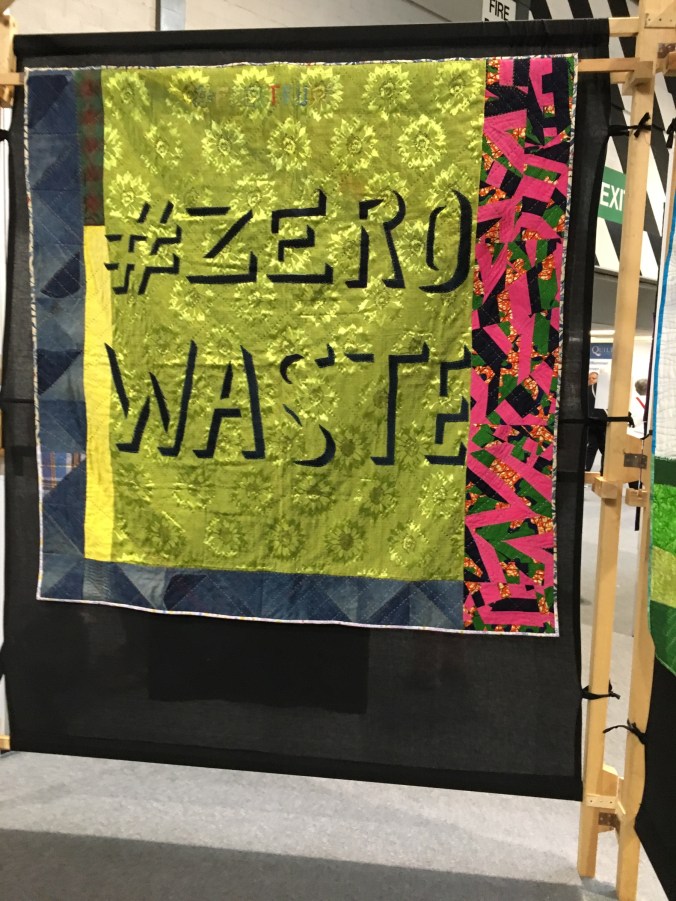
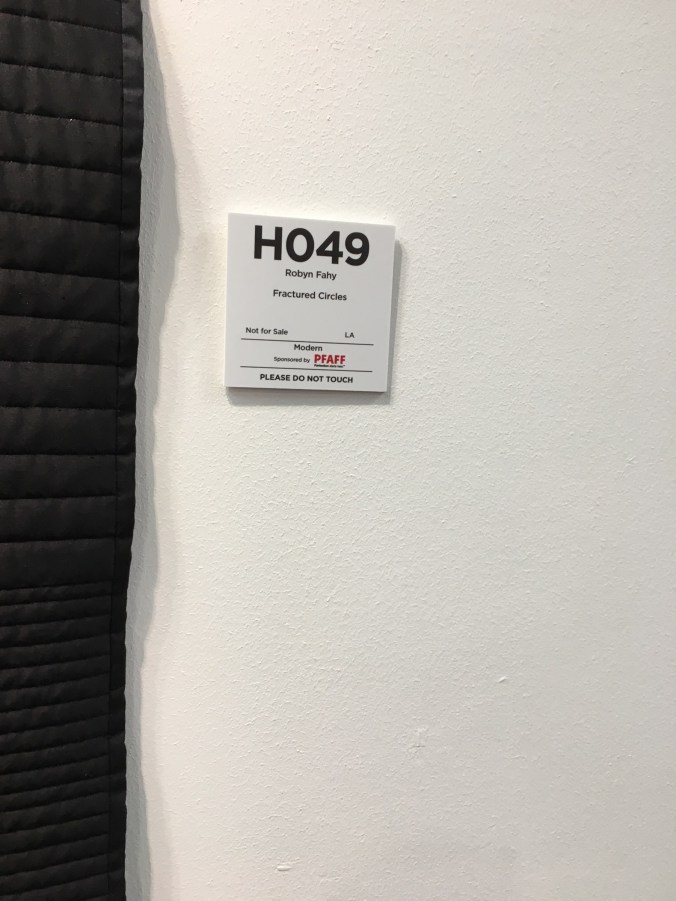
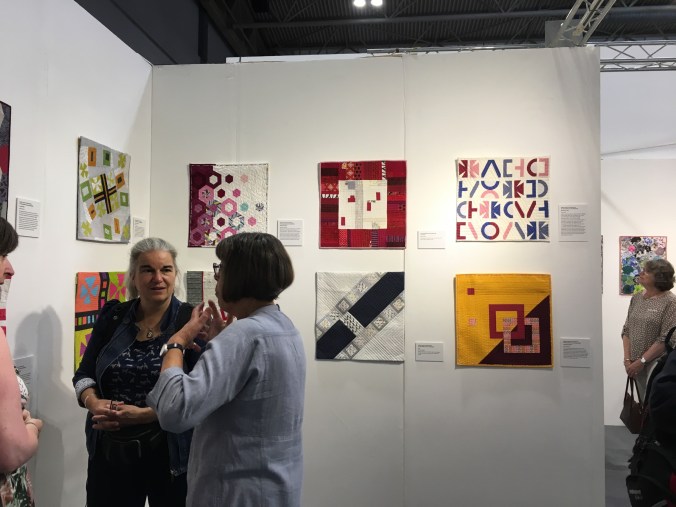
 I spent the entire year thinking that I wouldn’t be going to this year’s Festival of Quilts as it clashed with our annual holiday. The Festival of Quilts is the quilt show in the UK and some say Europe so it’s a fixture in many quilter’s calendars. For a variety of reasons we always have to book our holiday well ahead and I knew from the outset our plans precluded going to the Festival. So for that reason I didn’t pay much attention to news of the Festival until I happened to read a few days before the event a
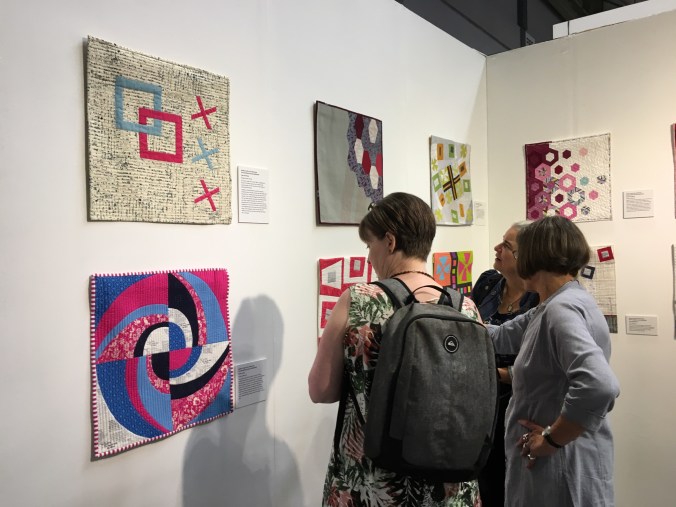


 Sorry everyone that May didn’t quite happen. I know the Mama was very busy and she did try to send something out but it didn’t arrive with me and the others who were wondering. I’ve checked my junk because it always surprises how many legitimate emails get lodged there but it wasn’t lurking there although what was was the next


